

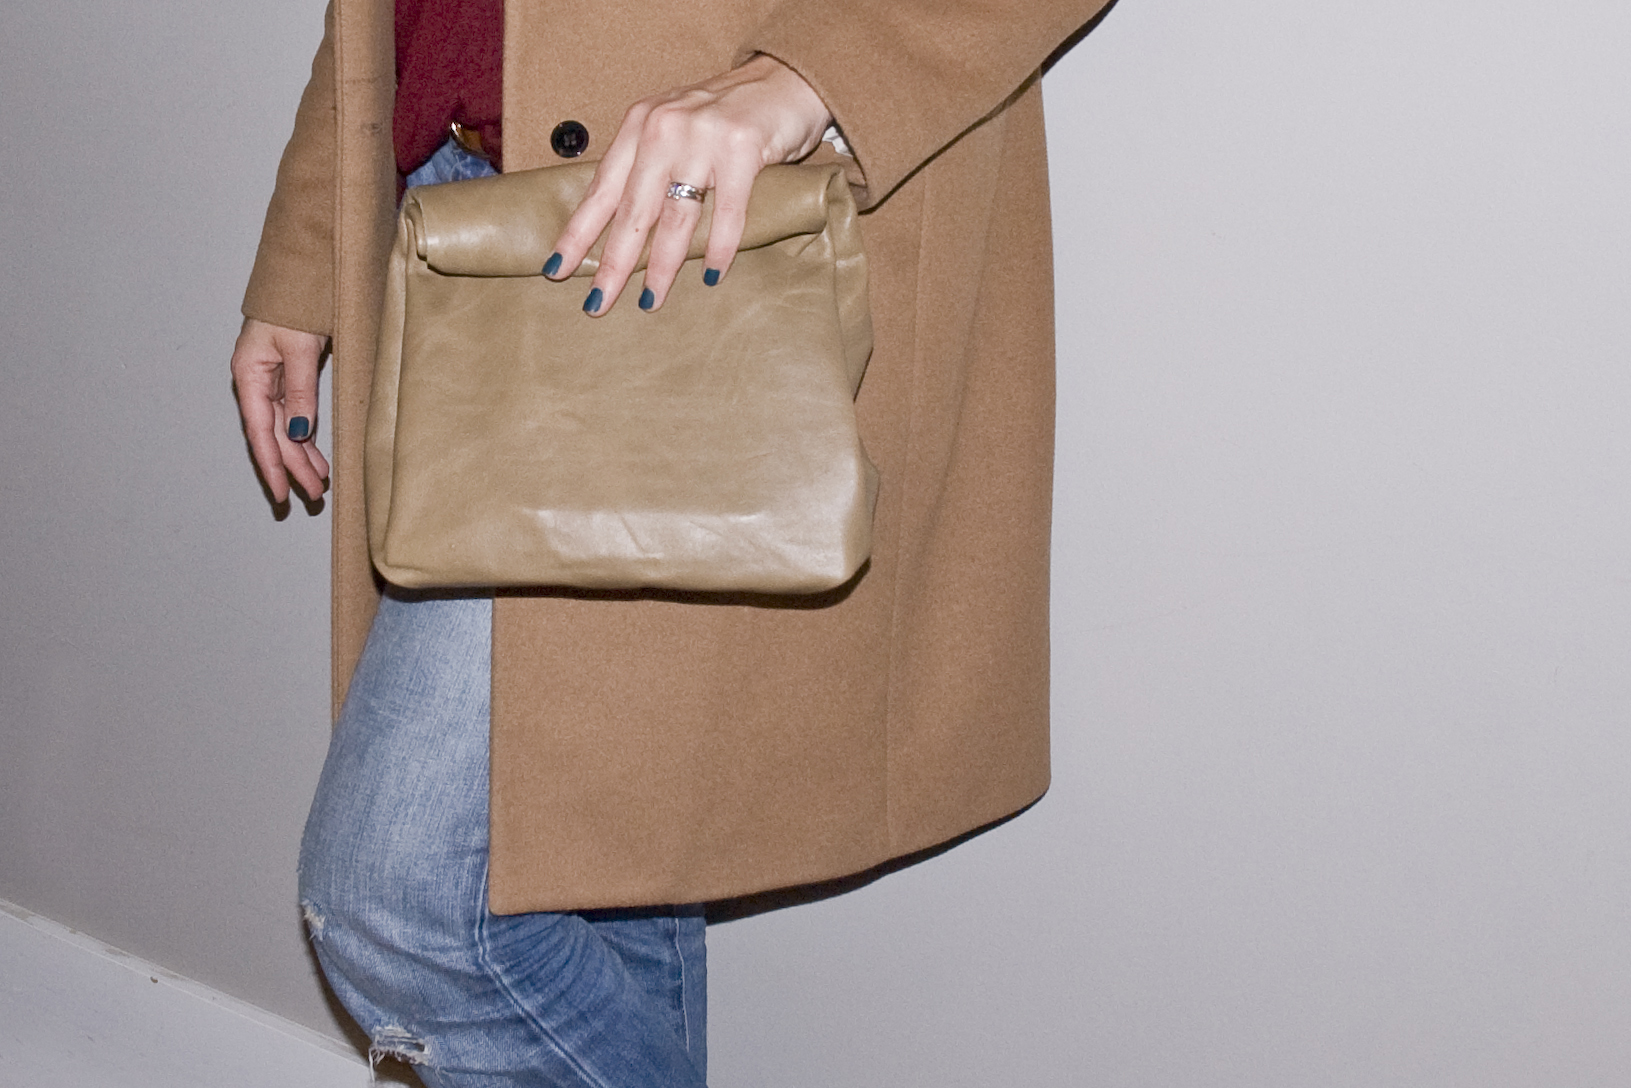
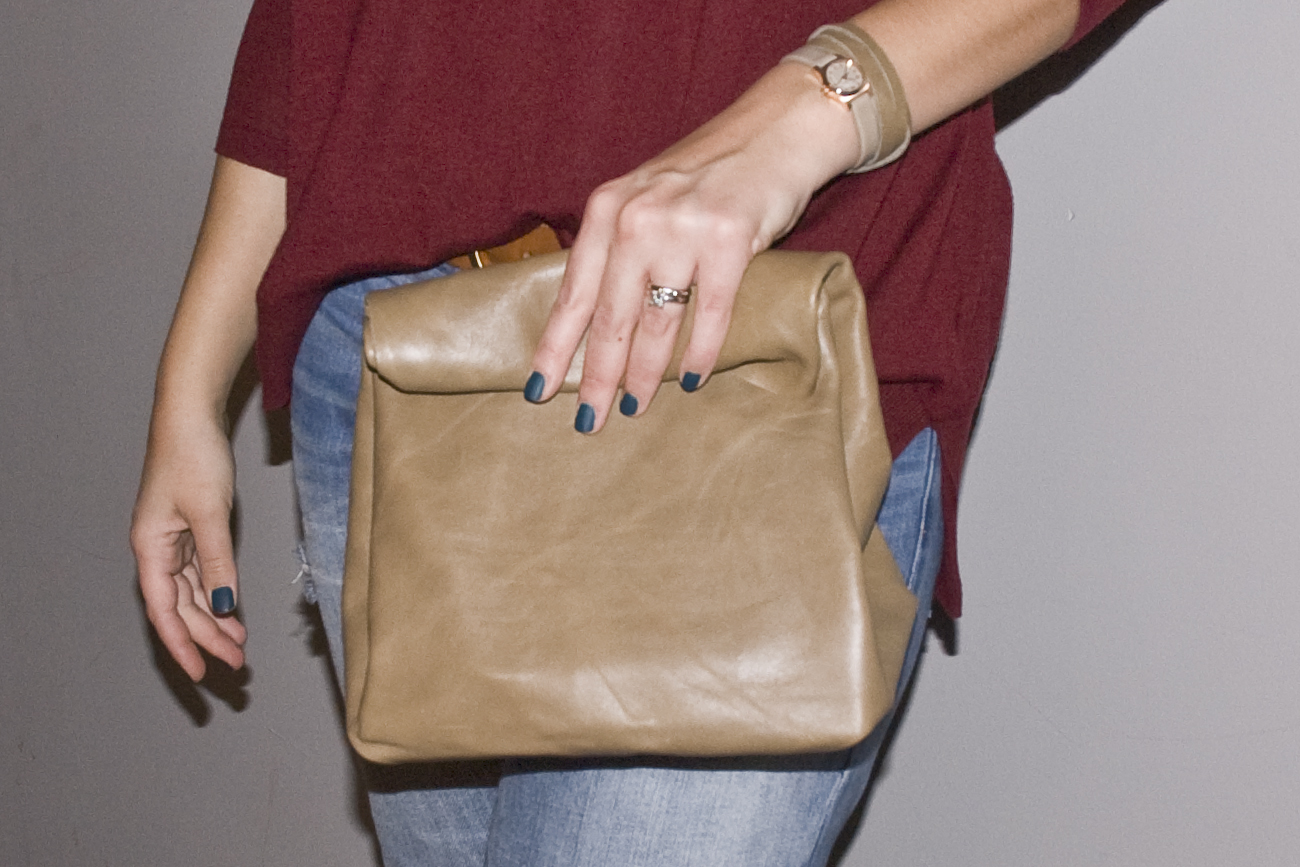
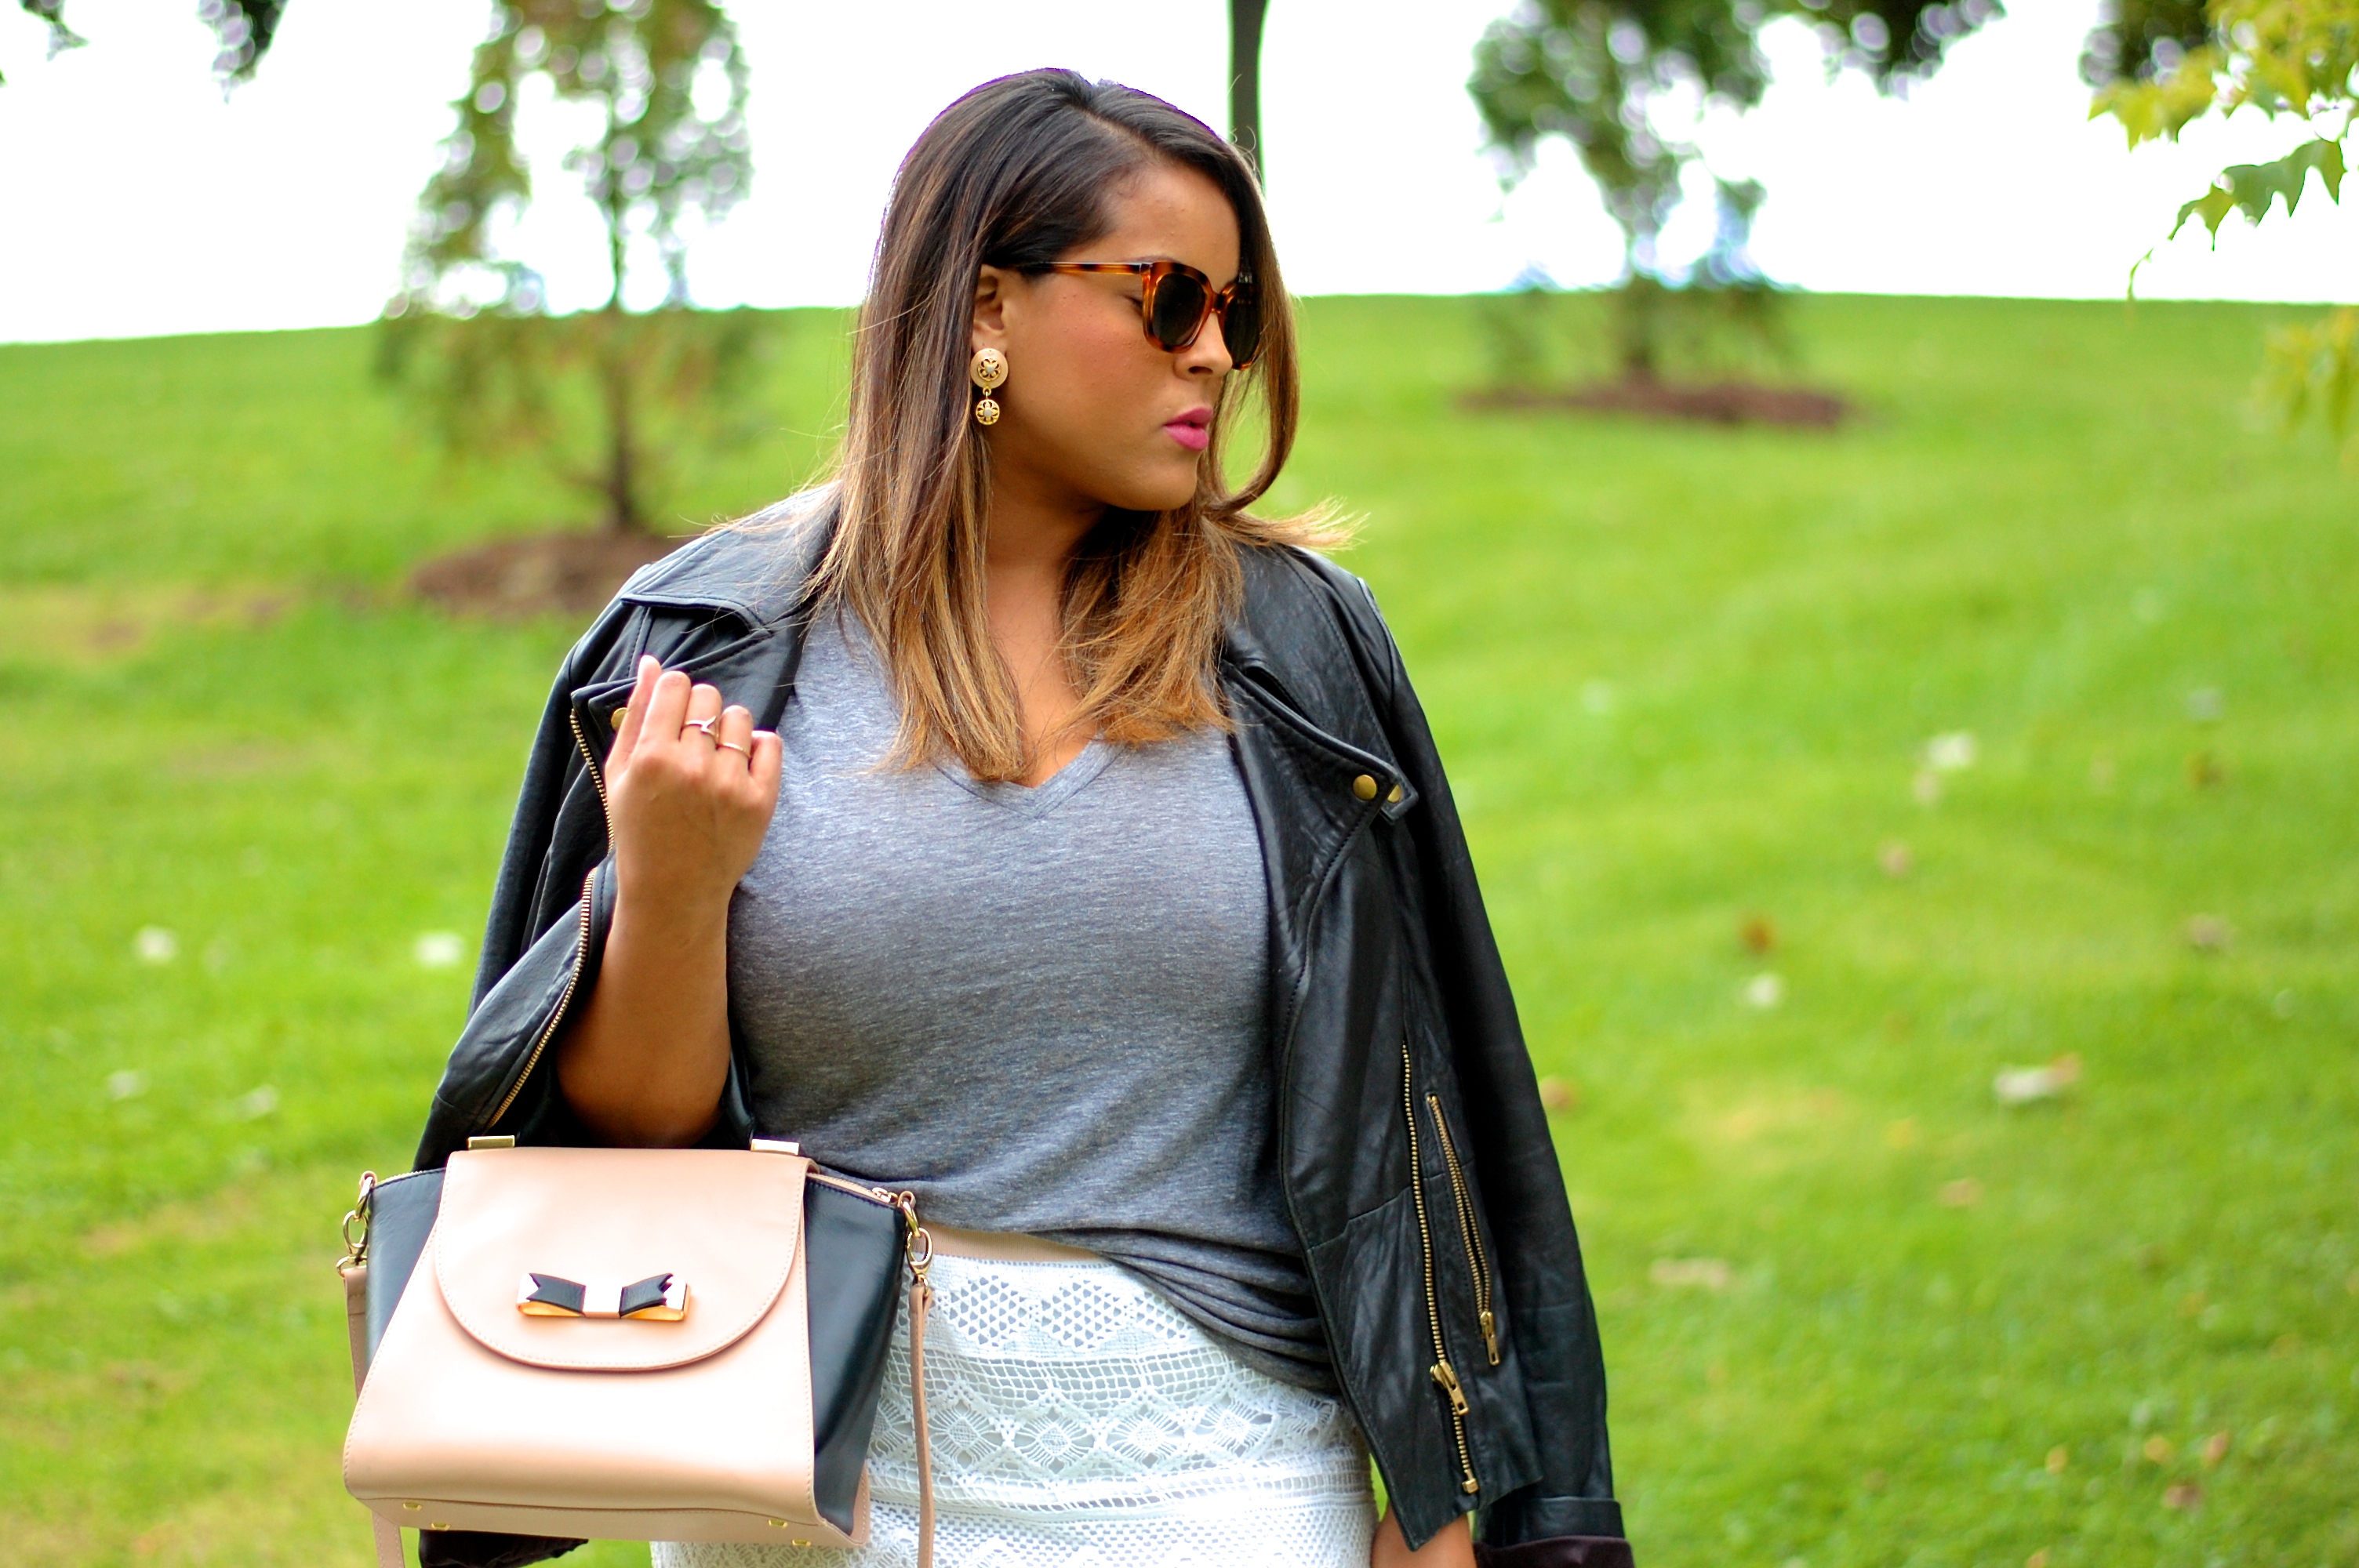
Ever since I saw Jil Sander’s fall 2012 menswear collection hit the runway with that fabulous leather lunch bag in tow, I’ve been obsessed. I always loved minimal design and everything about leather; the two go hand in hand and this unisex handbag is the perfect example of that.
But, the $630 price tag was not an option.
I know it’s taken this long, but I finally decided to do something about my fixation. After stumbling upon a few “no sew” options that I thought I couldn’t botch up too badly – cause if you know me, I don’t sew – I decided to go for it and give the mundane reusable lunch bag a major overhaul.
All you need is…
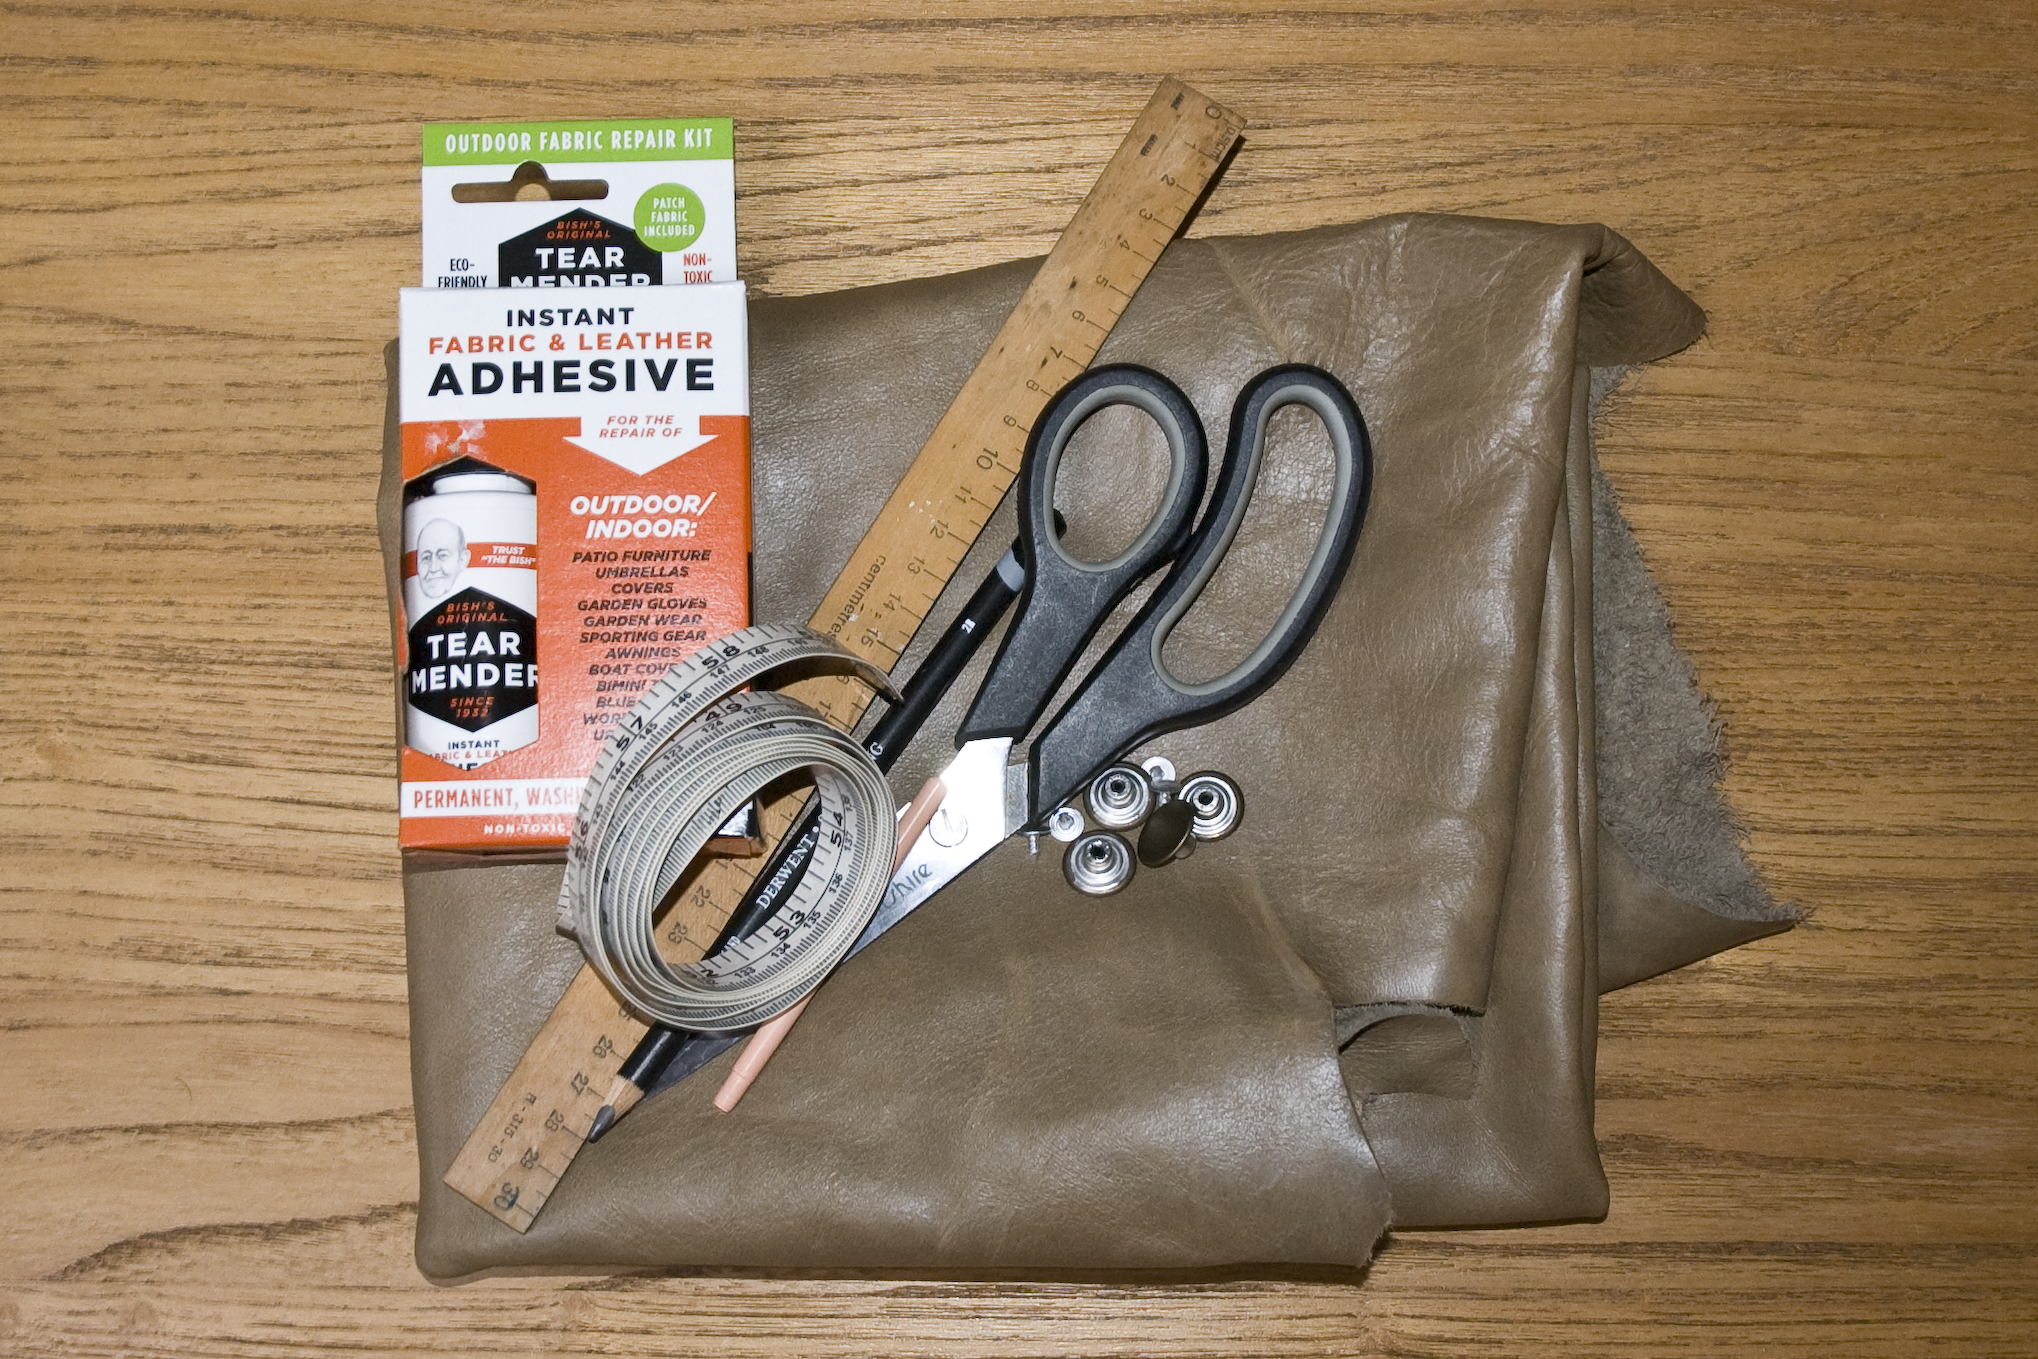
– A pencil/piece of chalk
– Leather glue
– Sharp scissors
– Denim grommets/snaps
(ask for one ones that need to be fixed with a hammer – and get a few extra just in case)
– Hammer
– Ruler or measuring tape
- Old shoebox
– And, of course LEATHER (or a comparable vegan-alternative should you prefer)
* Note: most fabric stores will have a scrap leather bin for you to rummage through. I got mine at macFAB for $30, and it’s big enough for a DIY leather sequel (wink, wink).
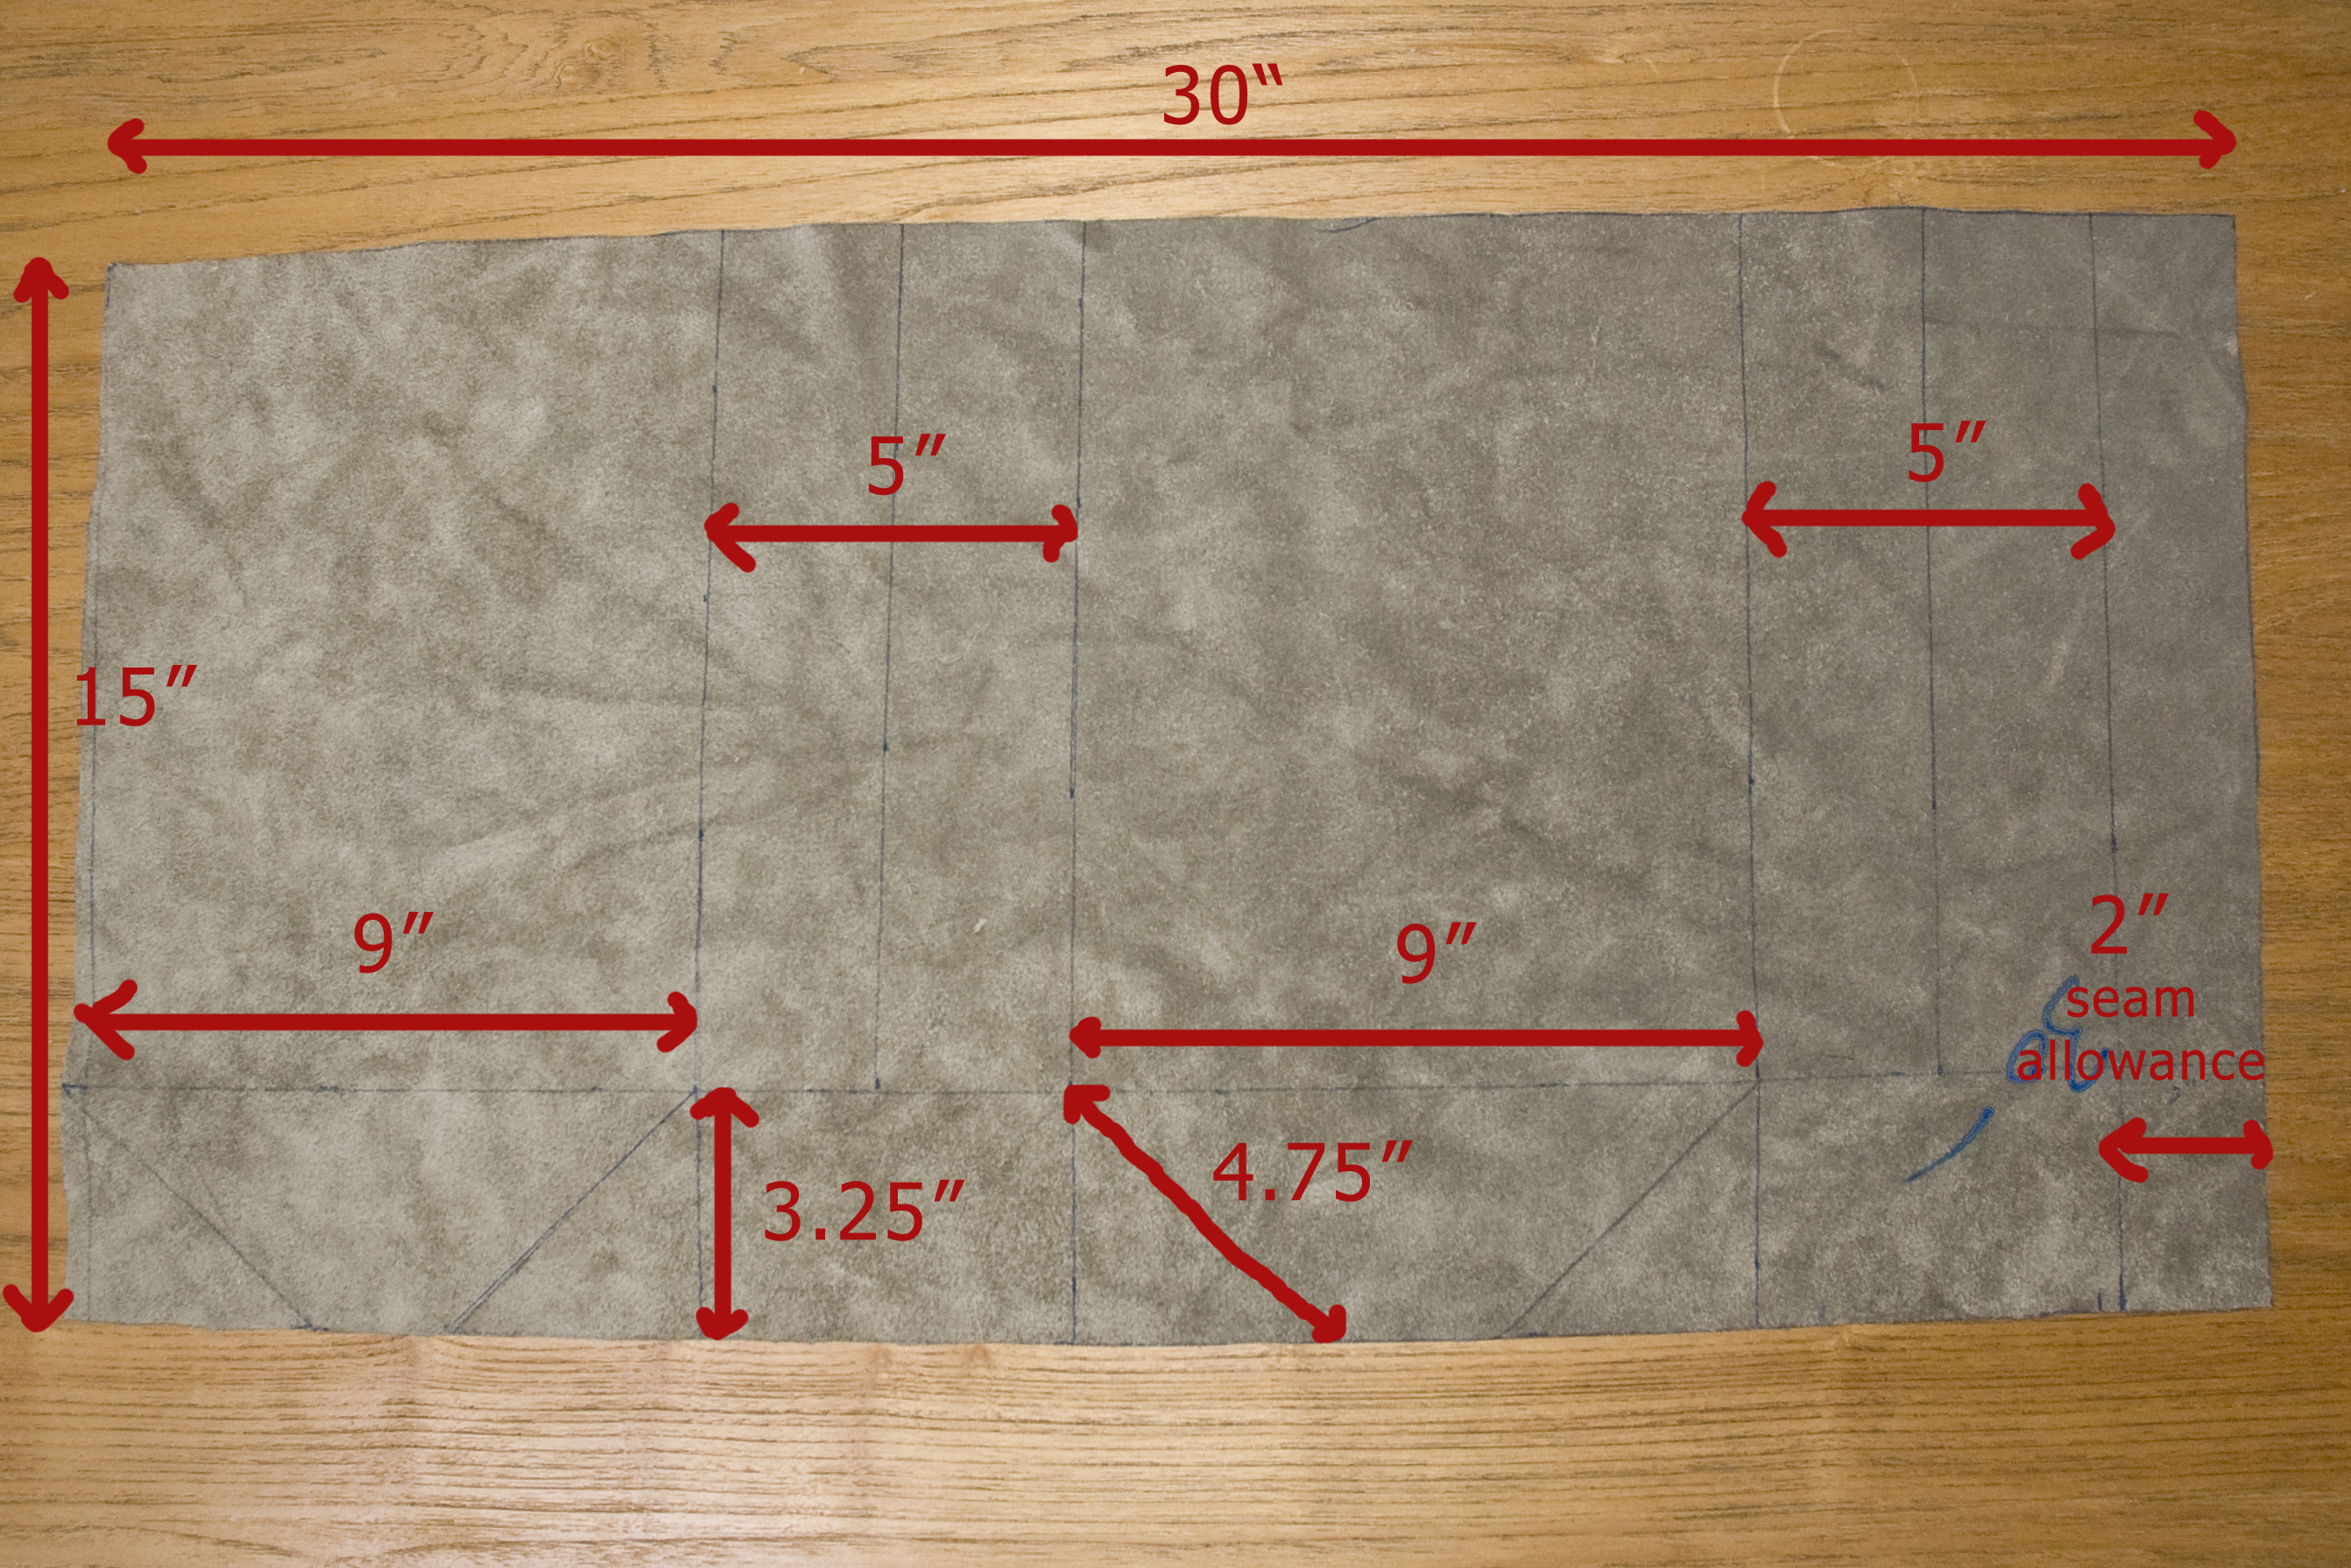
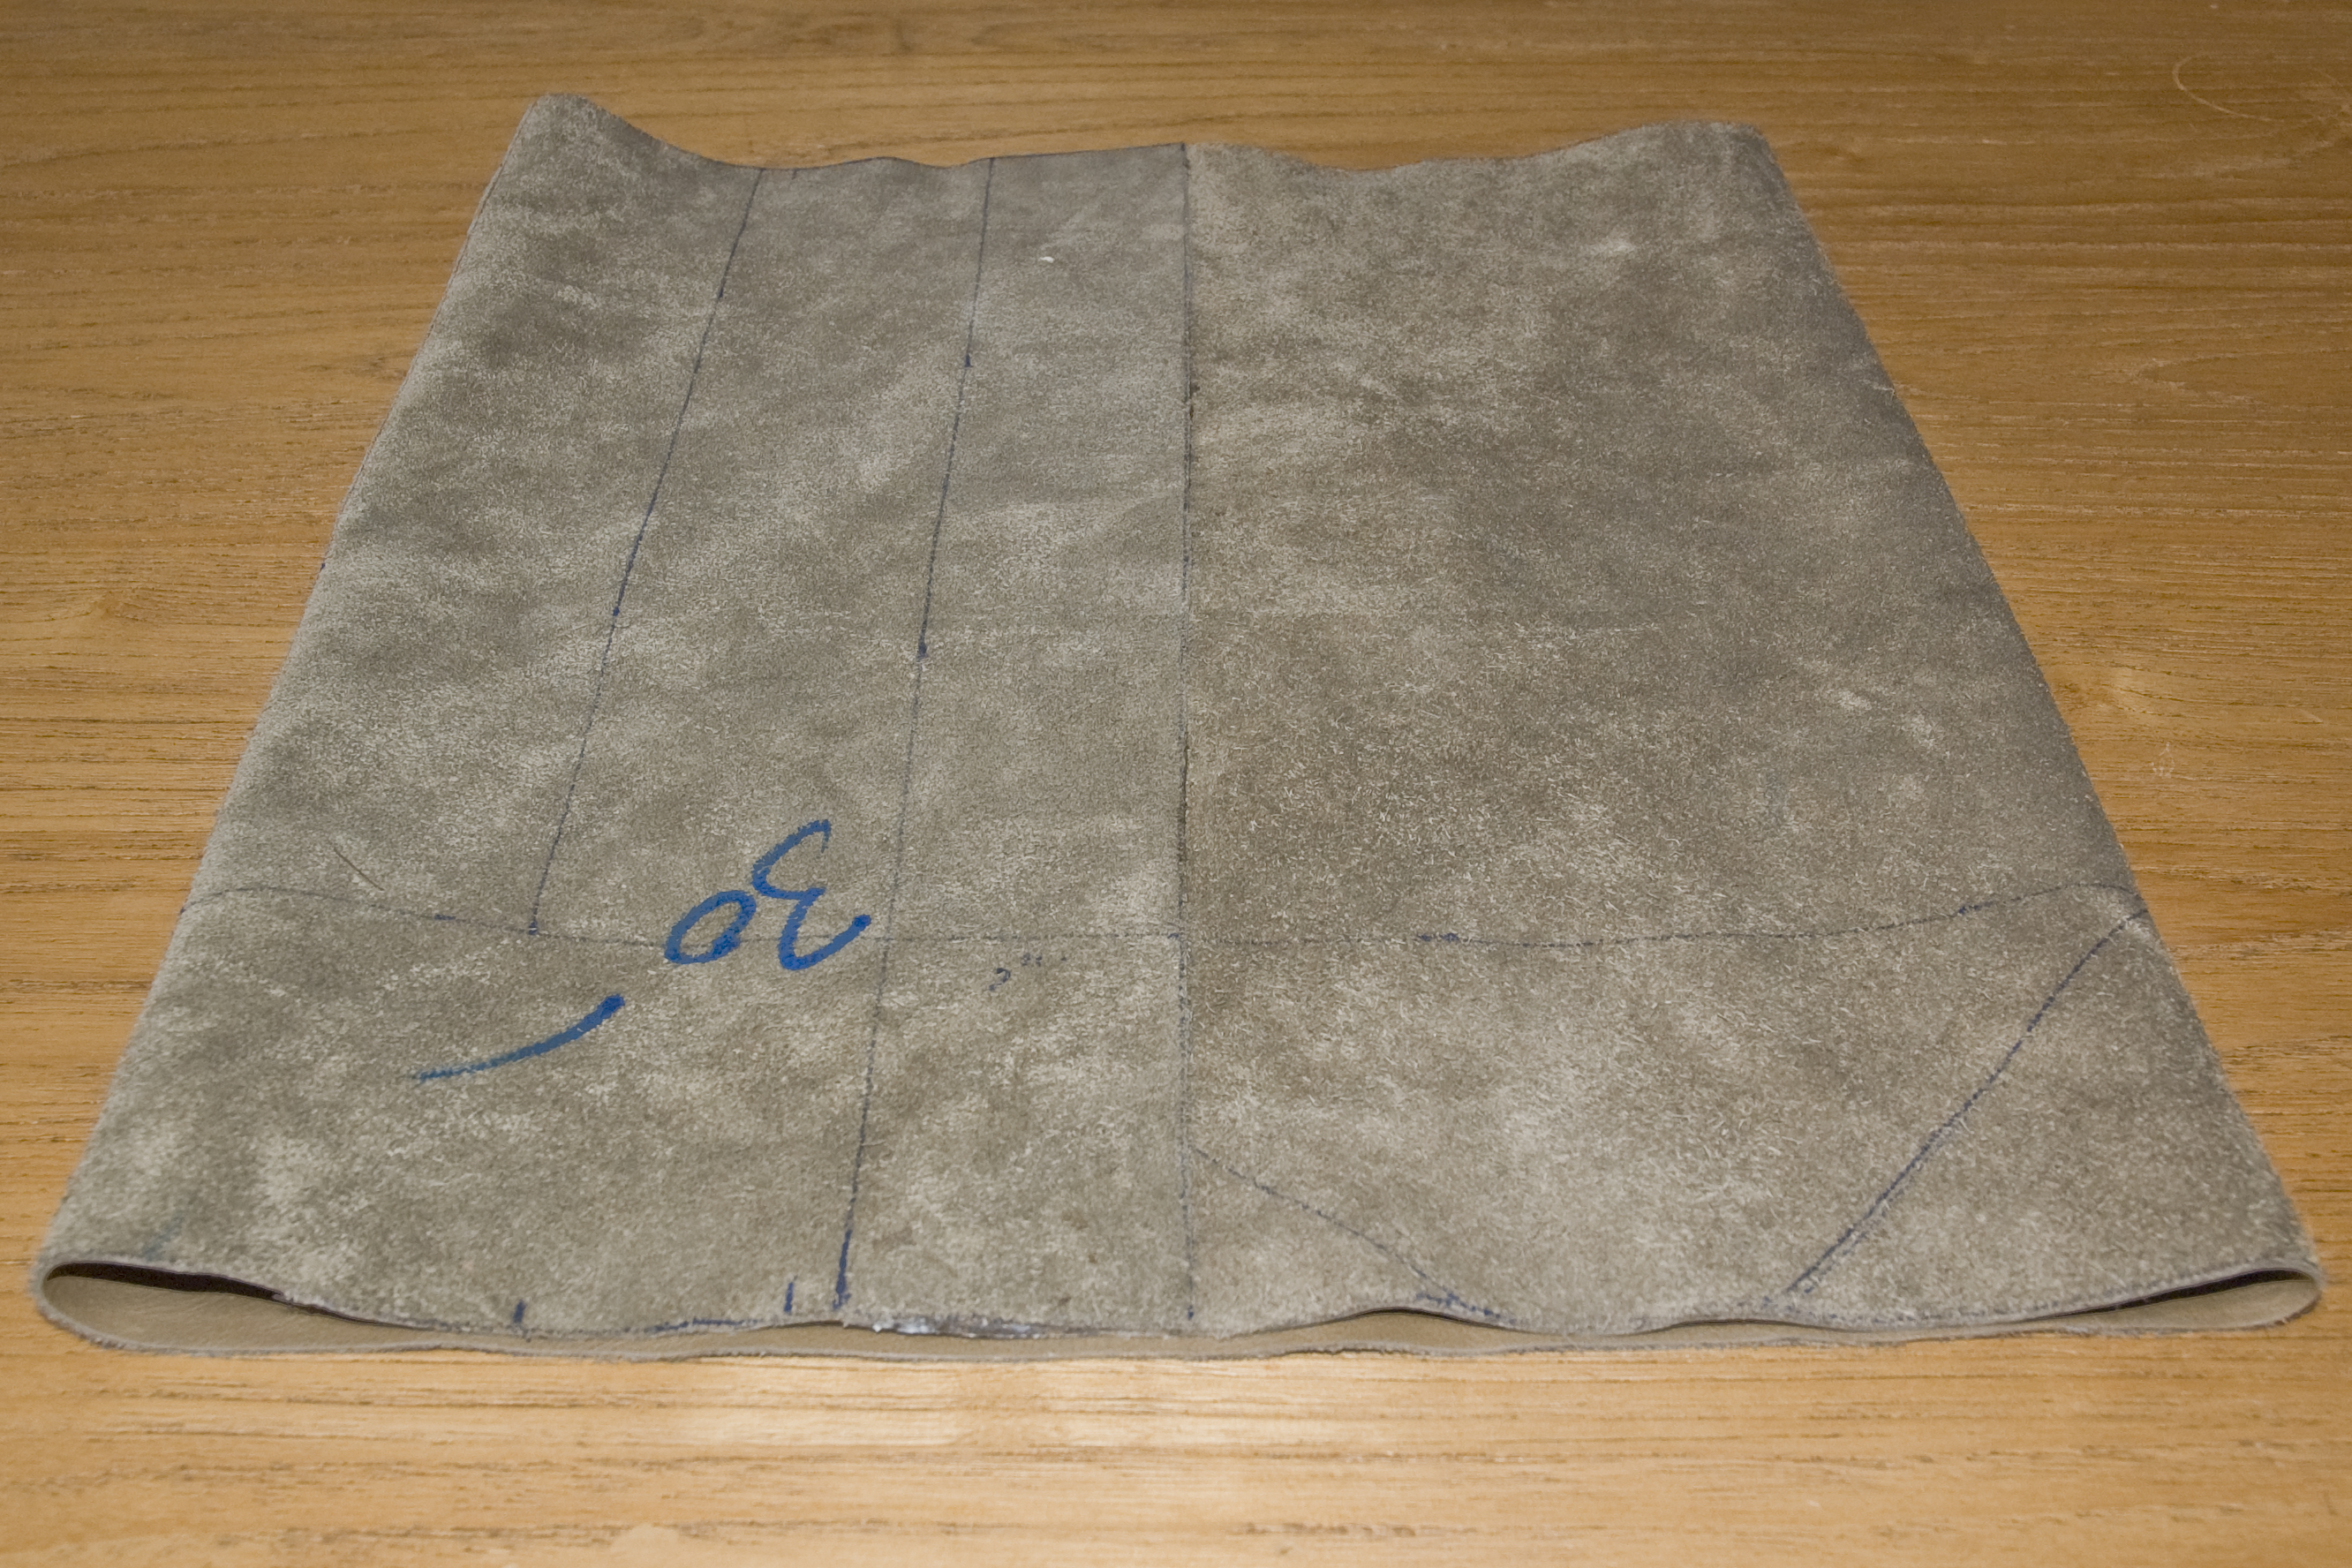
First, start off by marking your template, as seen in the image above, or you can use a deconstructed paper lunch bag as your guide. Remember that the piece of leather you choose should be able to accommodate a 30-inch by 15-inch rectangle. Once you’ve marked your pattern, cut. Oh, and don’t throw away those scraps. You’ll see how you can make good use of those later.
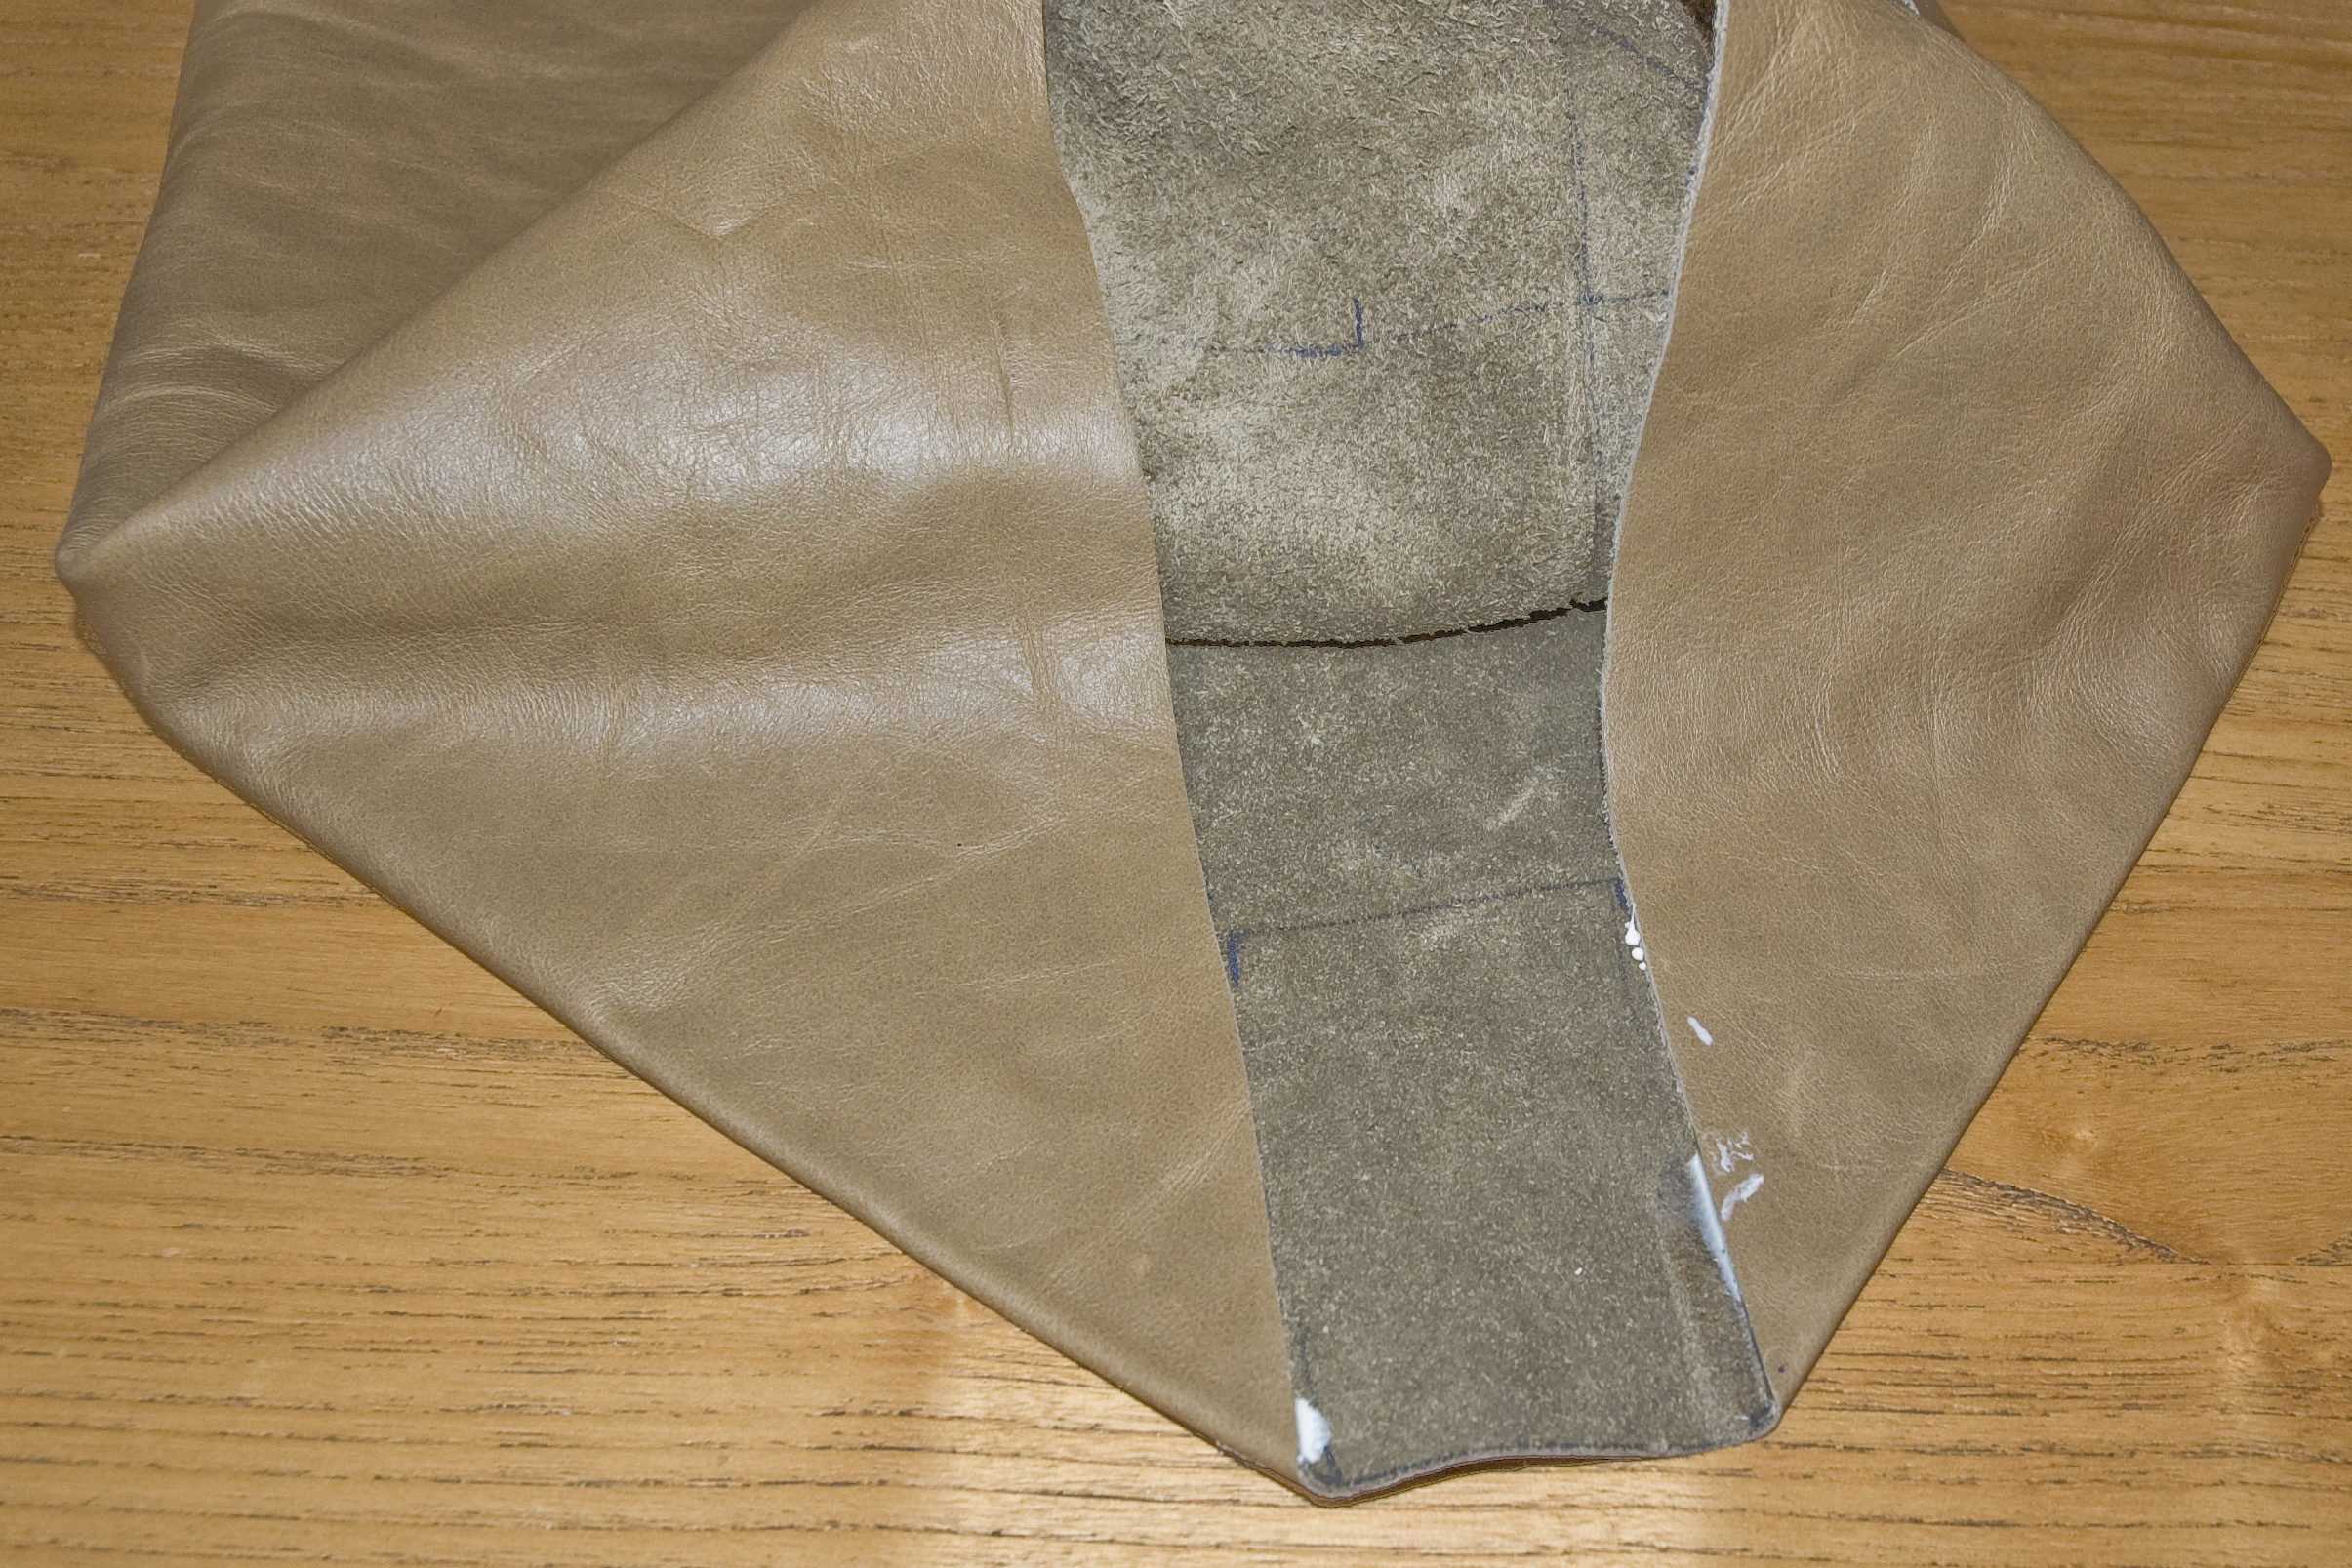
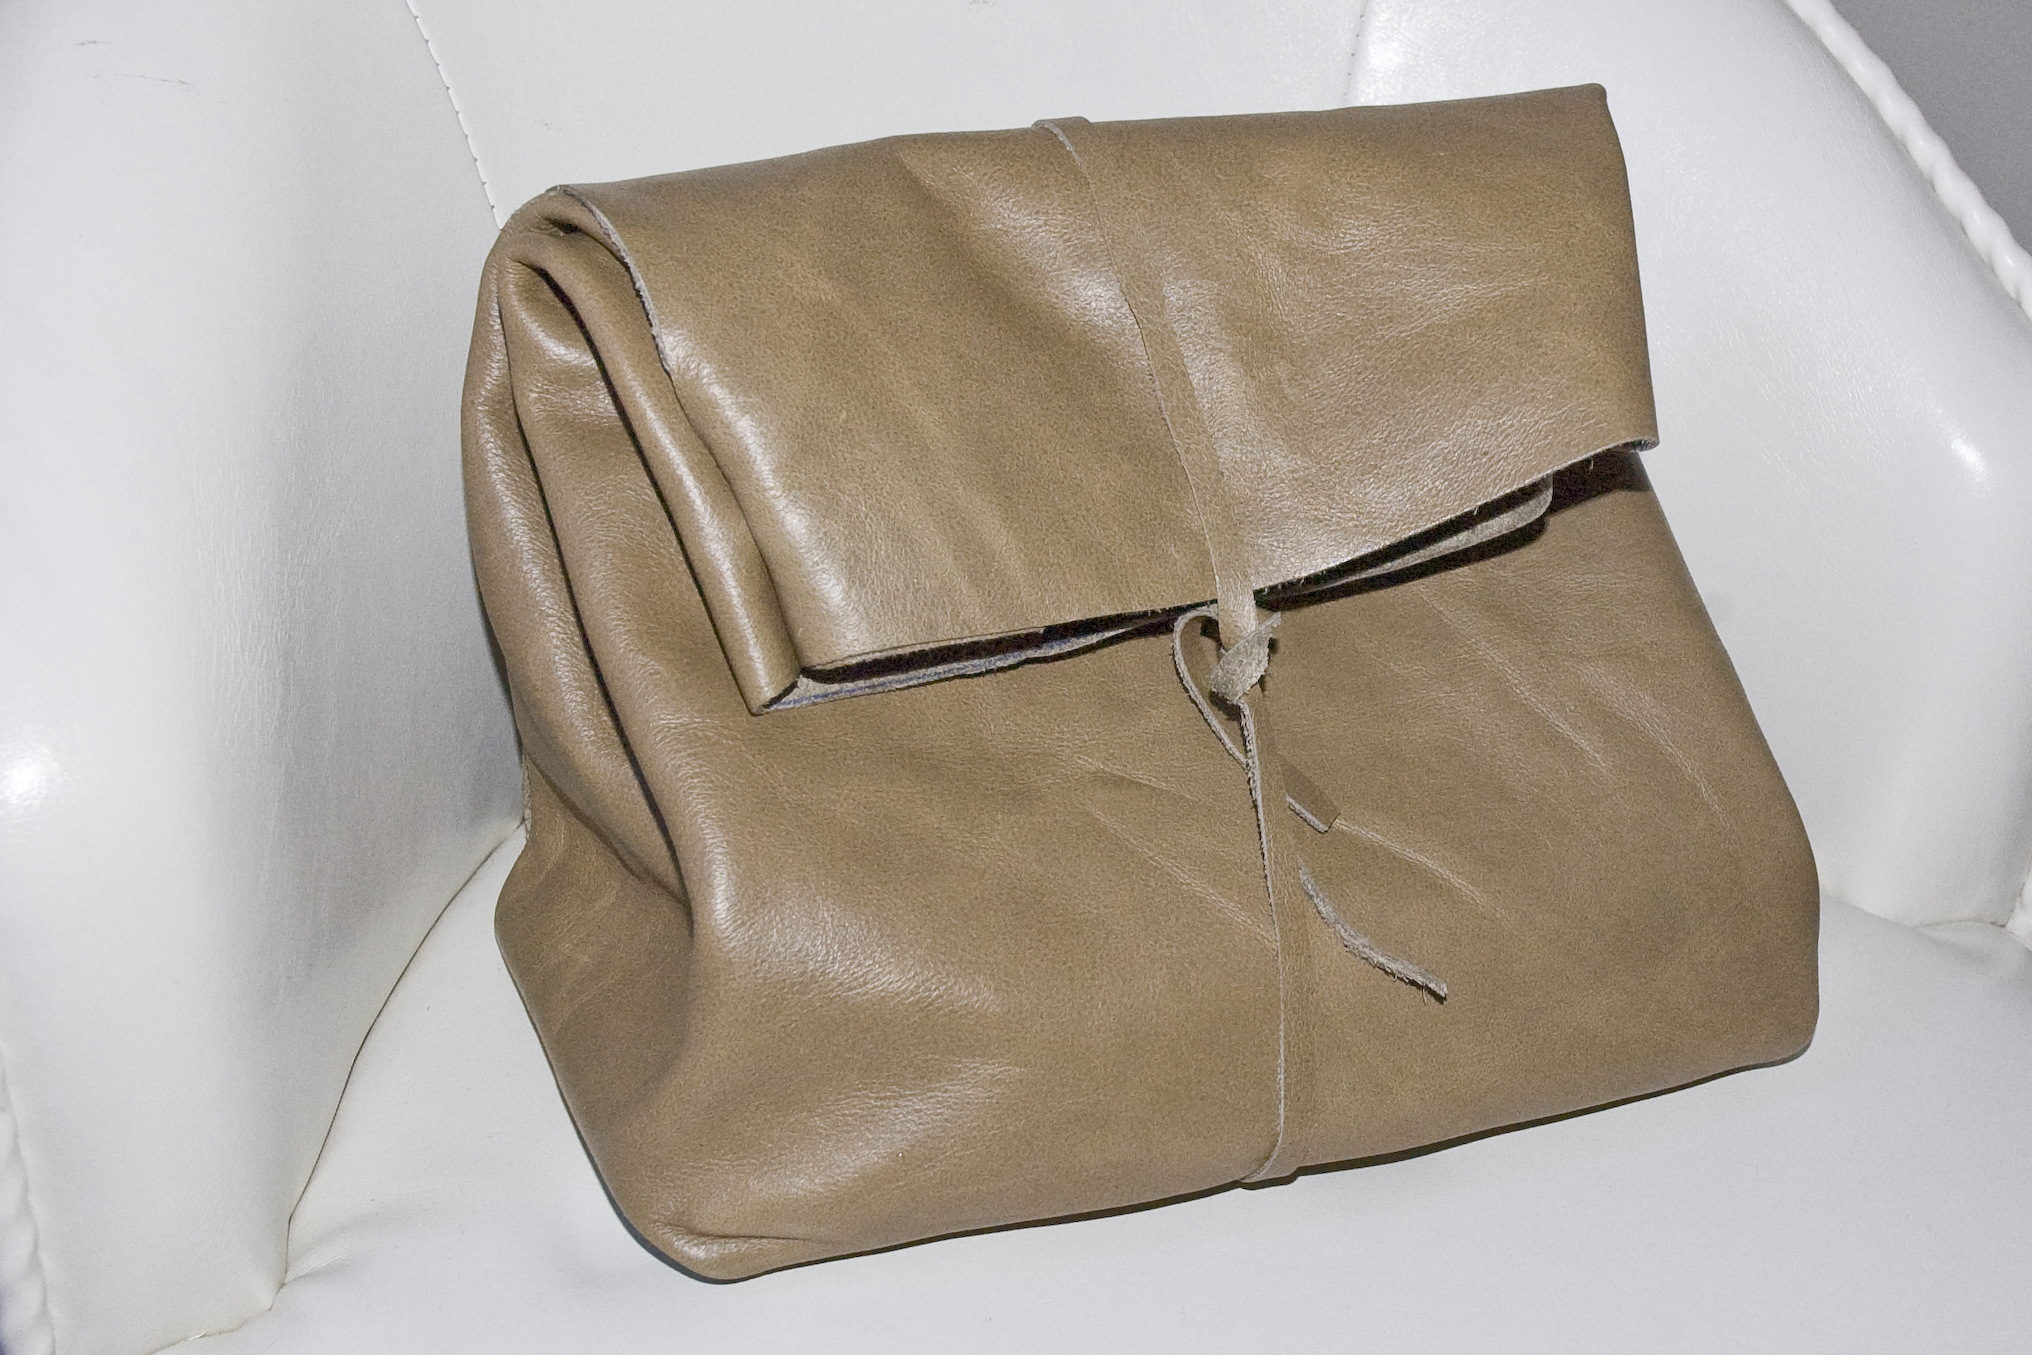
Fold (inside out) and overlap the 2-inch seam allowance and glue to create a tube.
Turn the lunch bag right side out and start folding the bottom of the lunch bag, as if you were wrapping a present using your pre-marked lines as a guide. I found it helpful to use an old shoebox as a guide to make certain my edges came out clean.
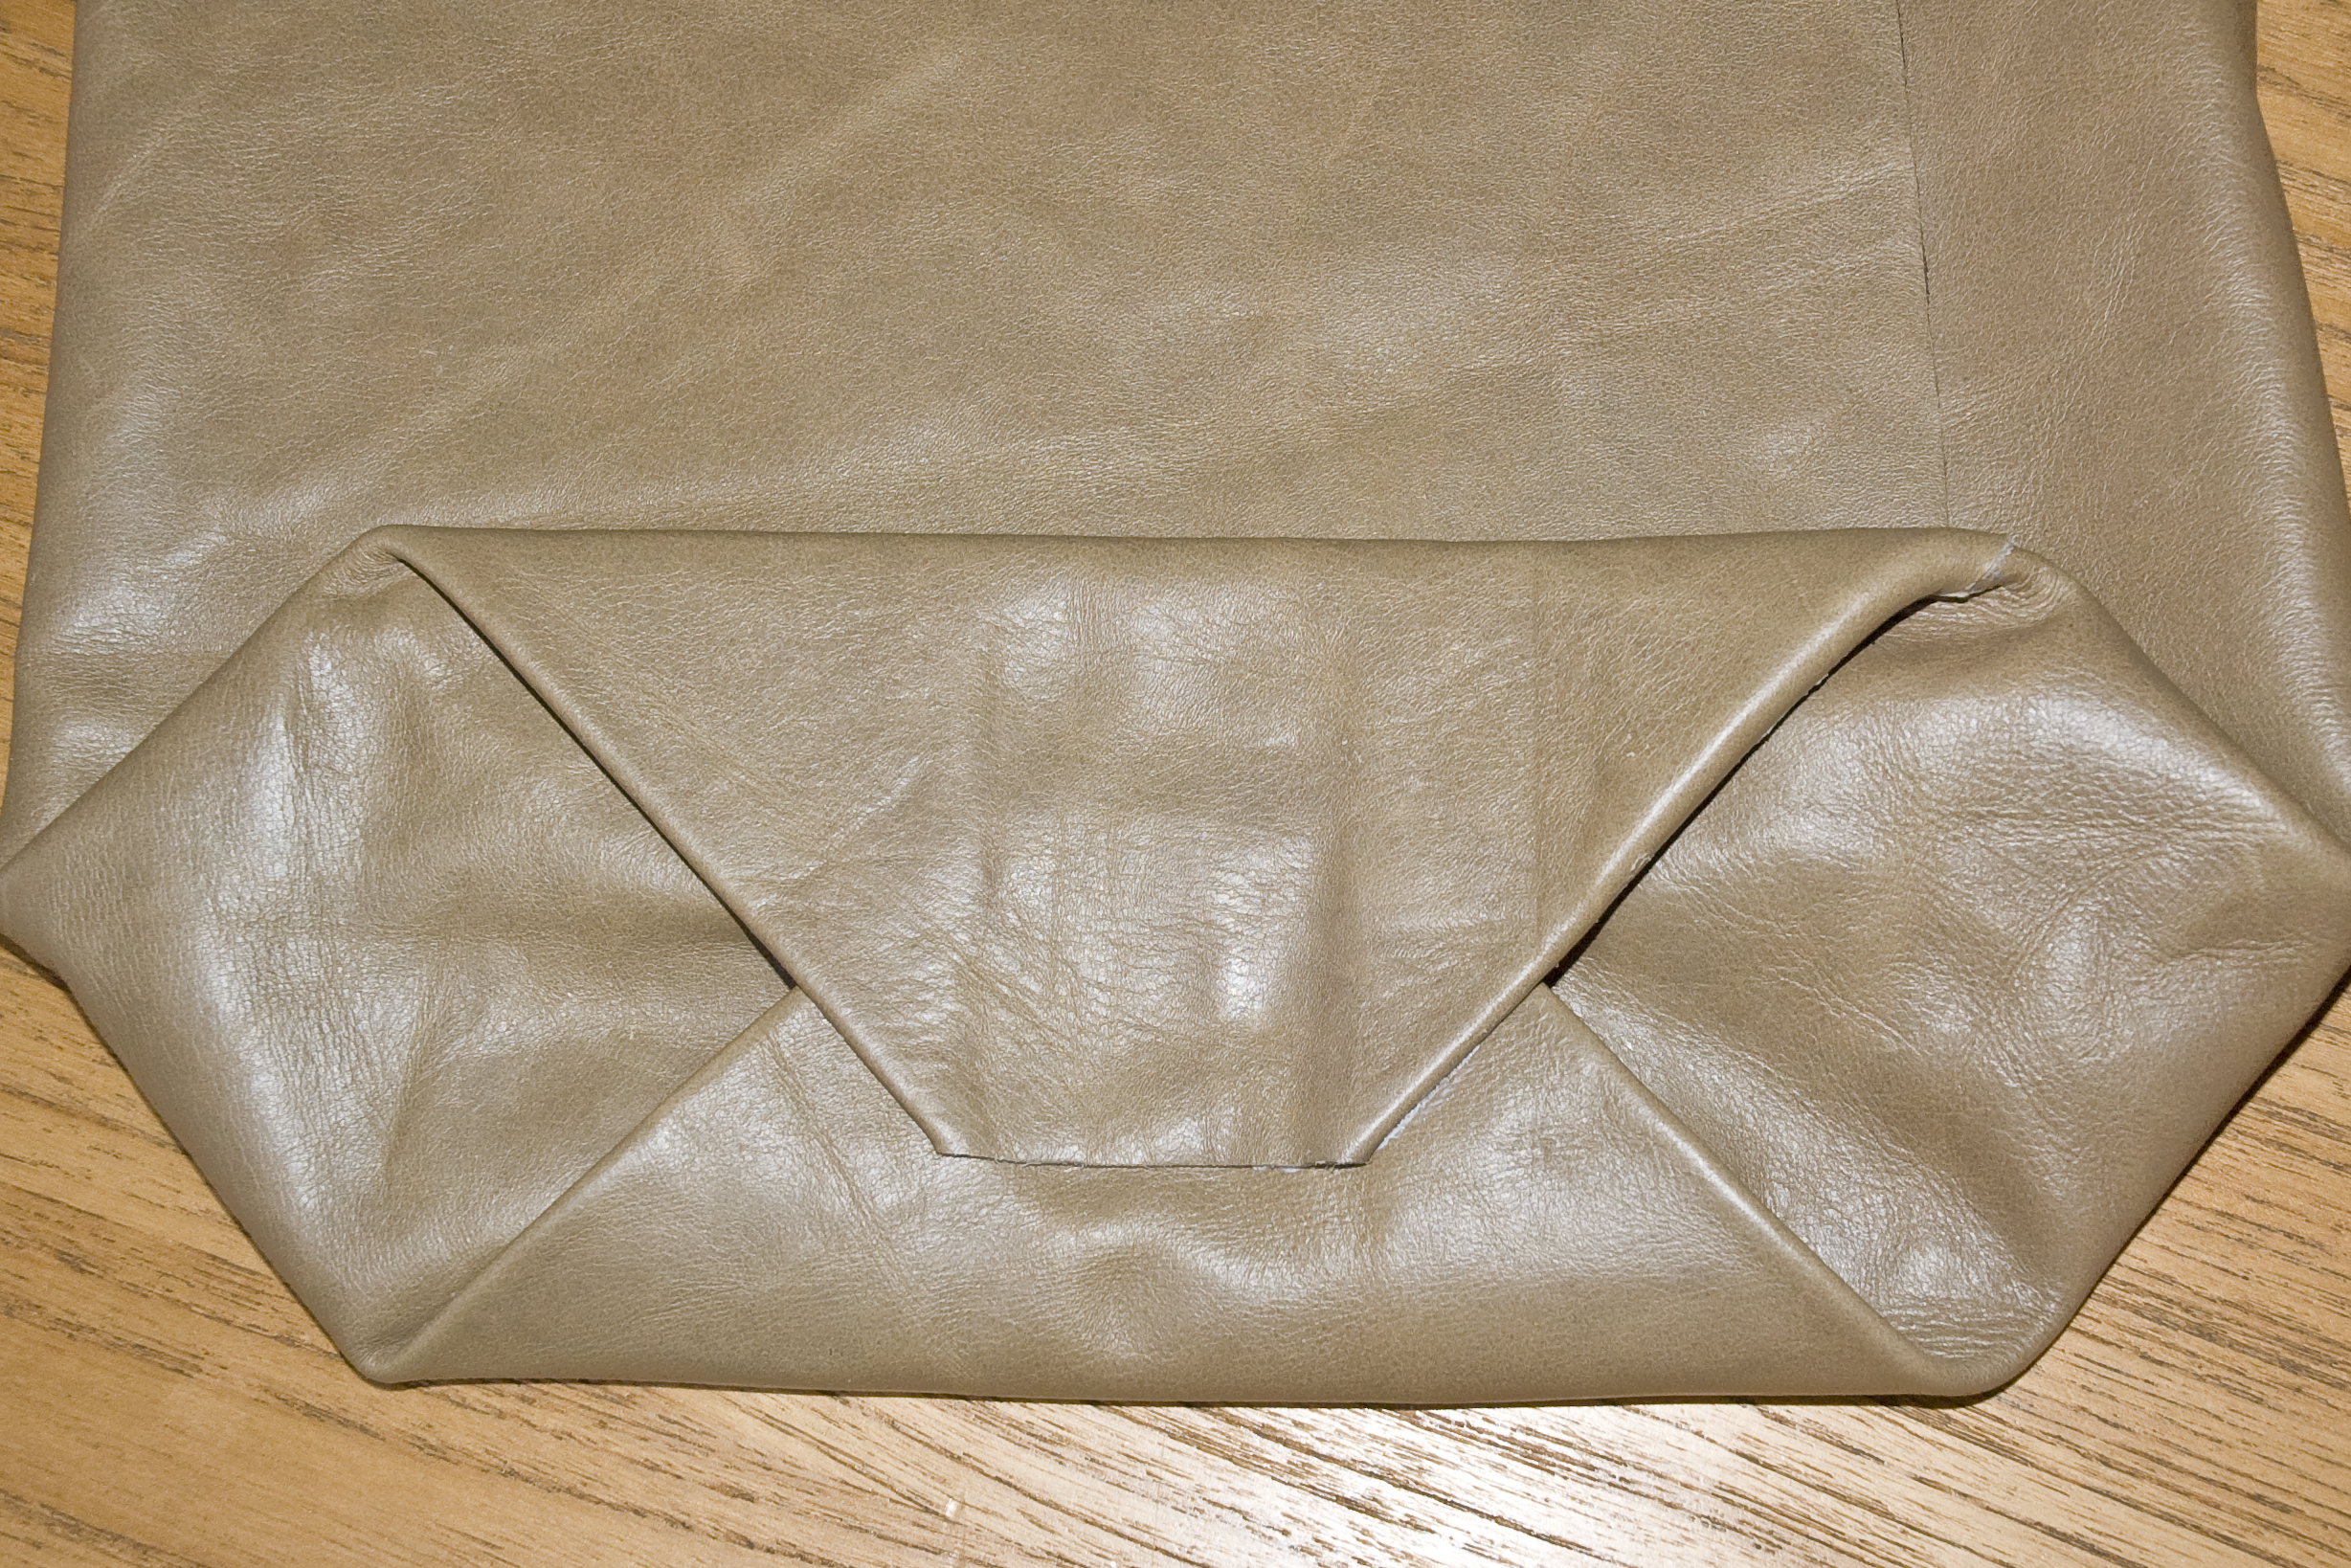
Again, glue.
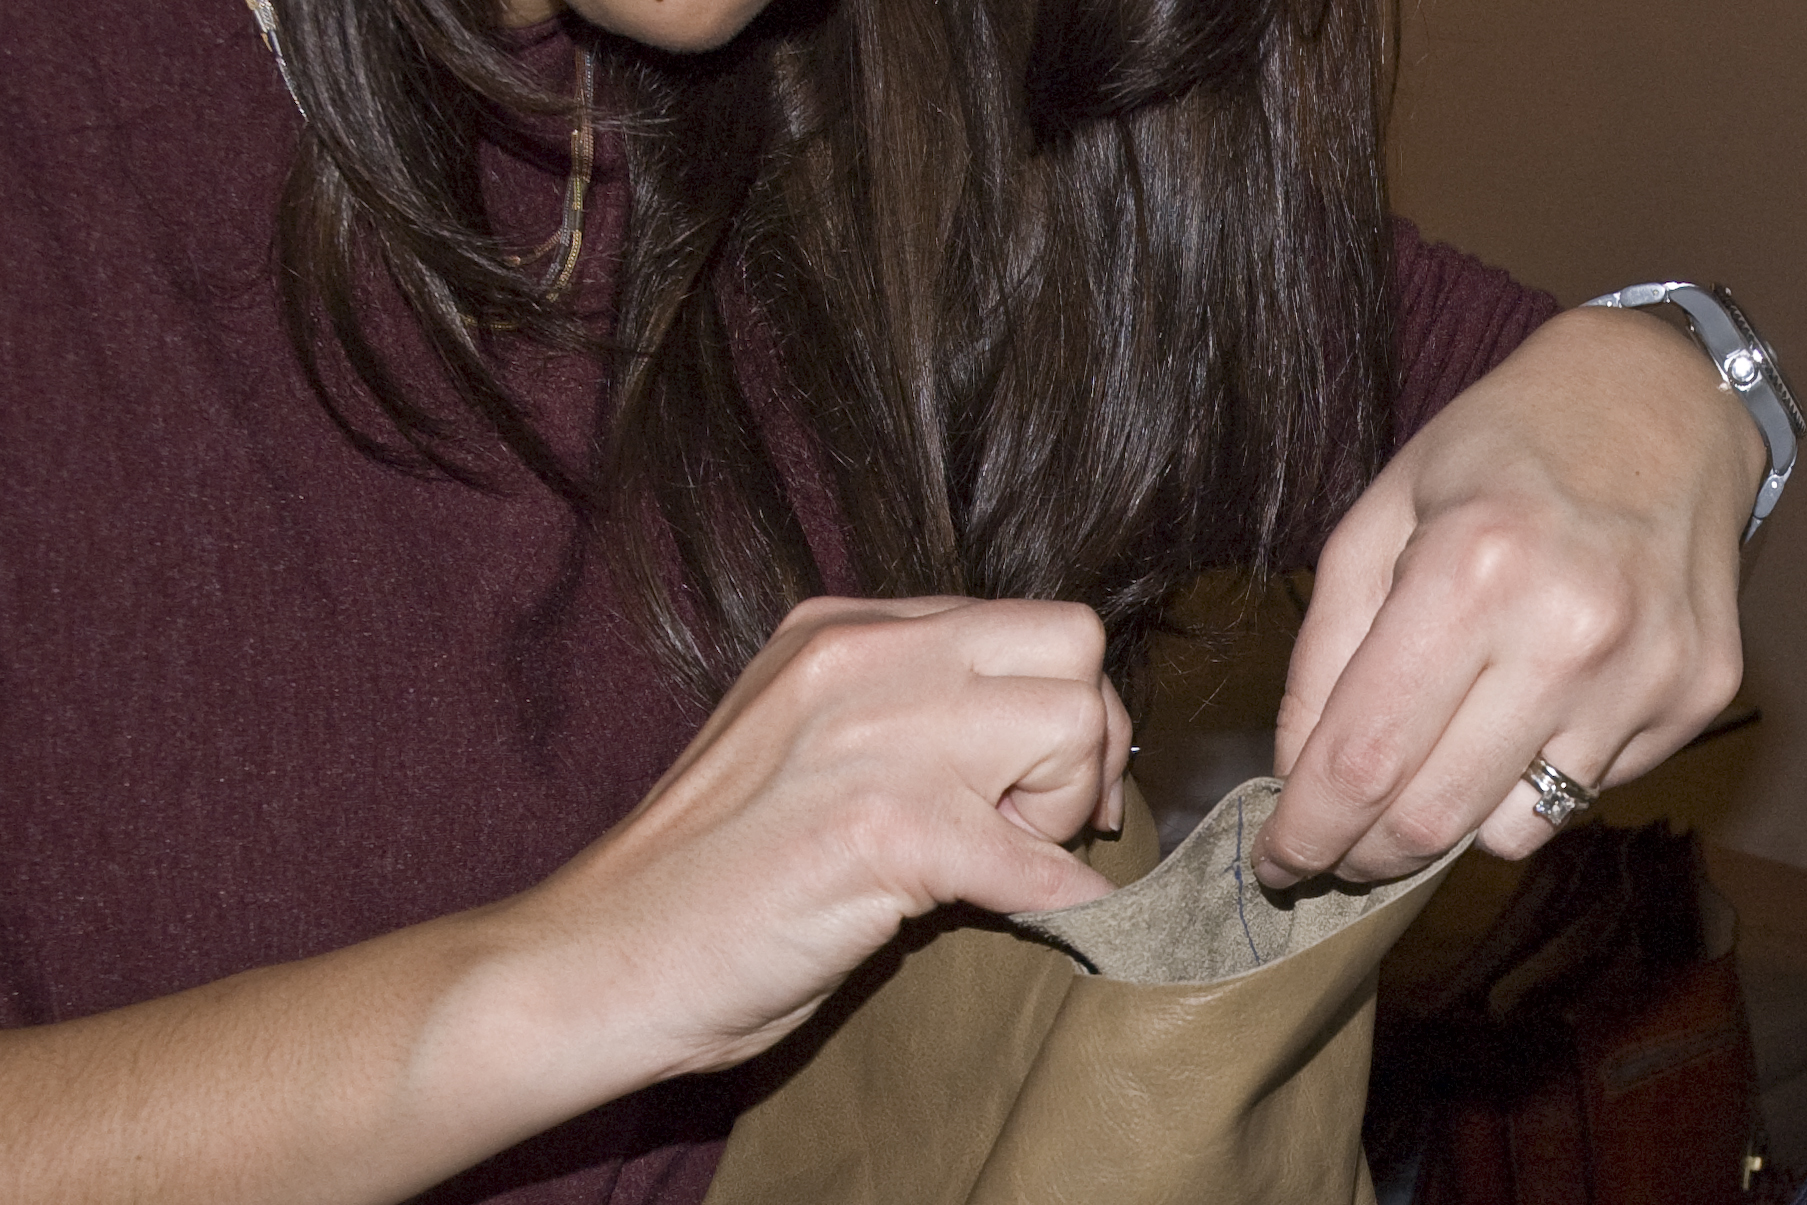
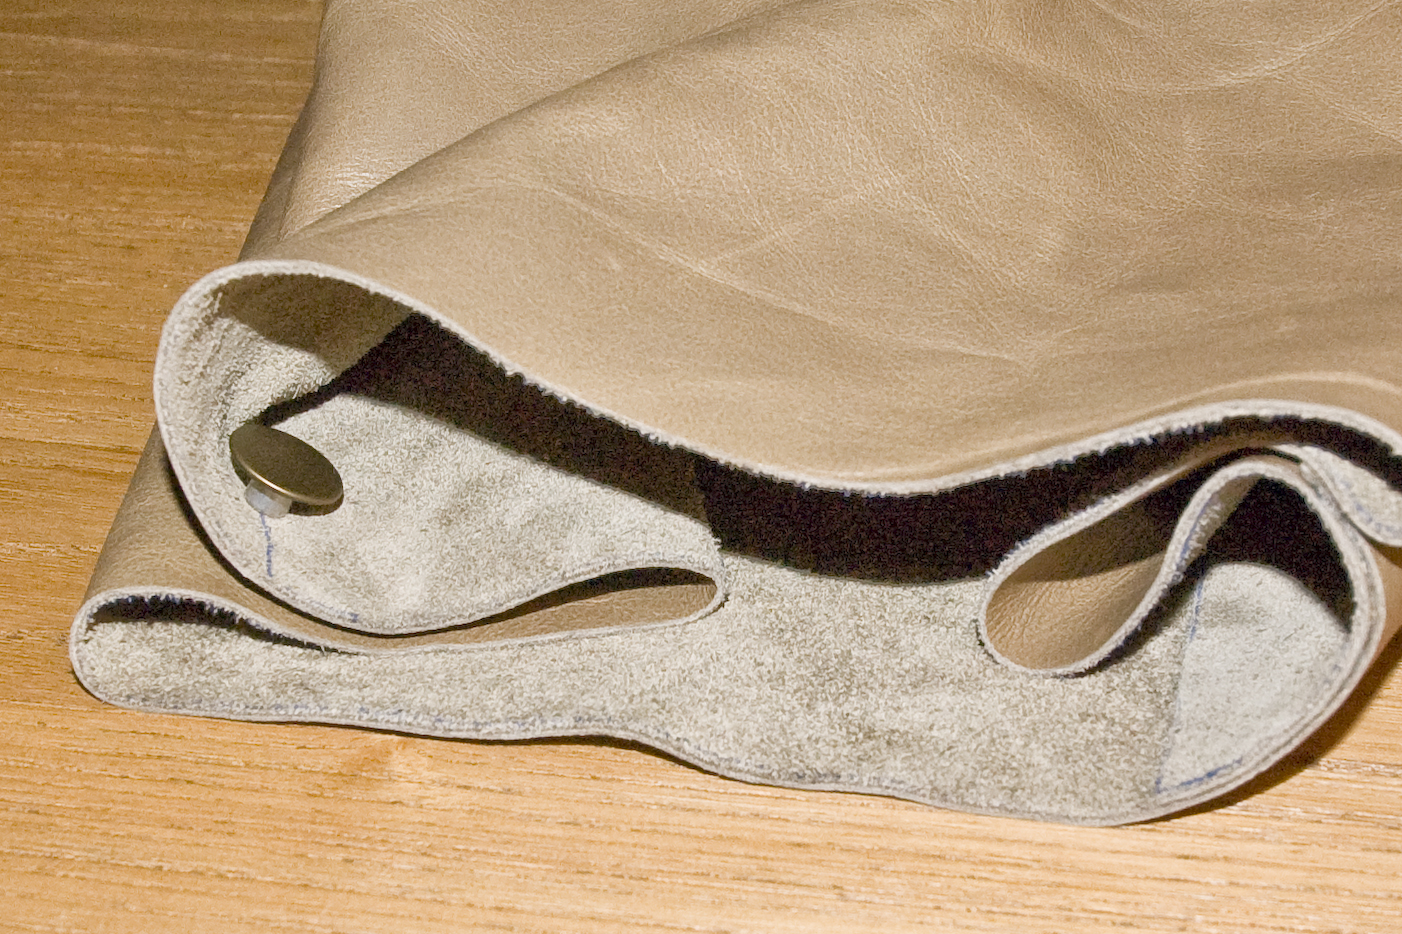
To make that standard lunch bag shape more permanent, I inserted snaps inside the bag where it would naturally crease, and cut out a 9-inch by 5-inch rectangle from the shoebox used earlier to act as the bags base.
Note: When inserting the snaps I found it helpful to pierce a small hole first. And remember if it doesn’t work out on the first go no worries, that’s what the extras were for.
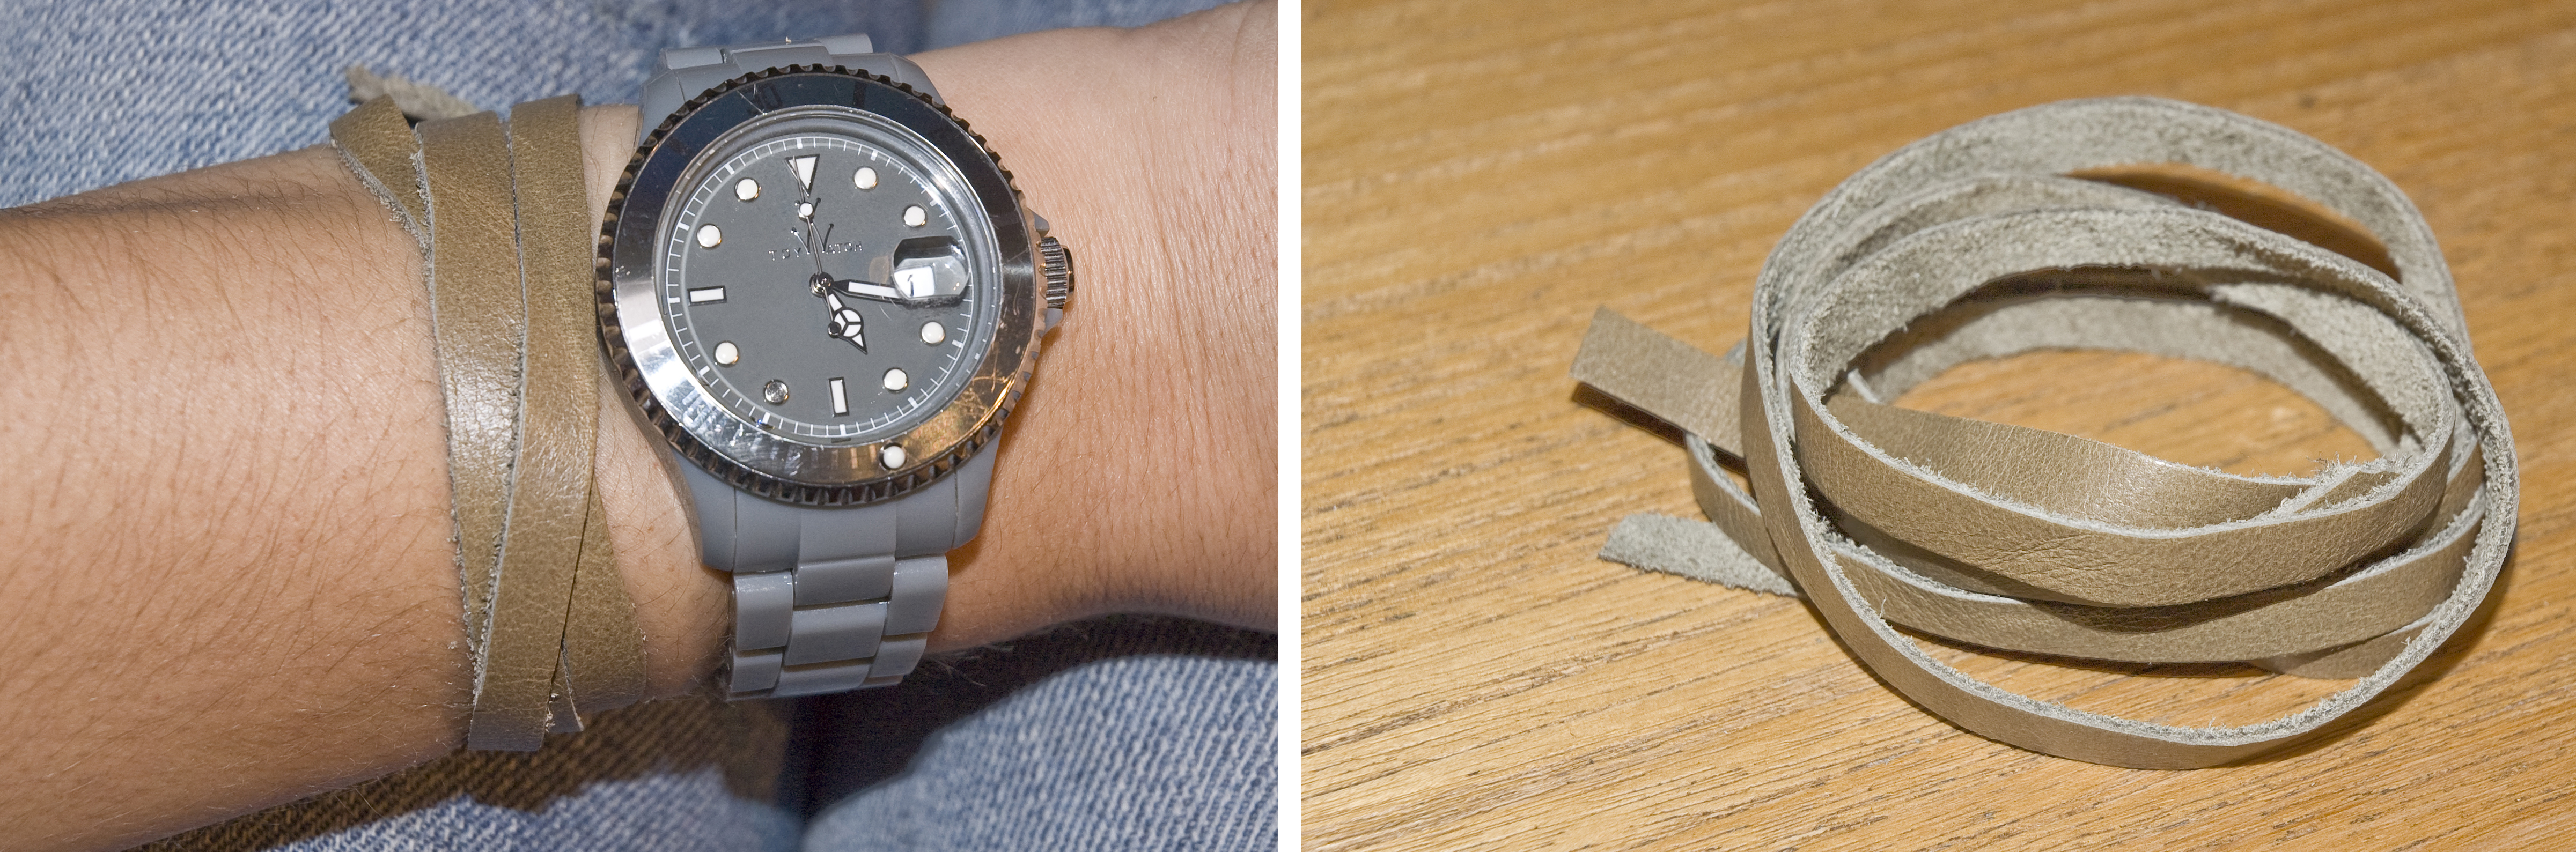
The scraps!
 Follow


COMMENTS ARE OFF THIS POST