
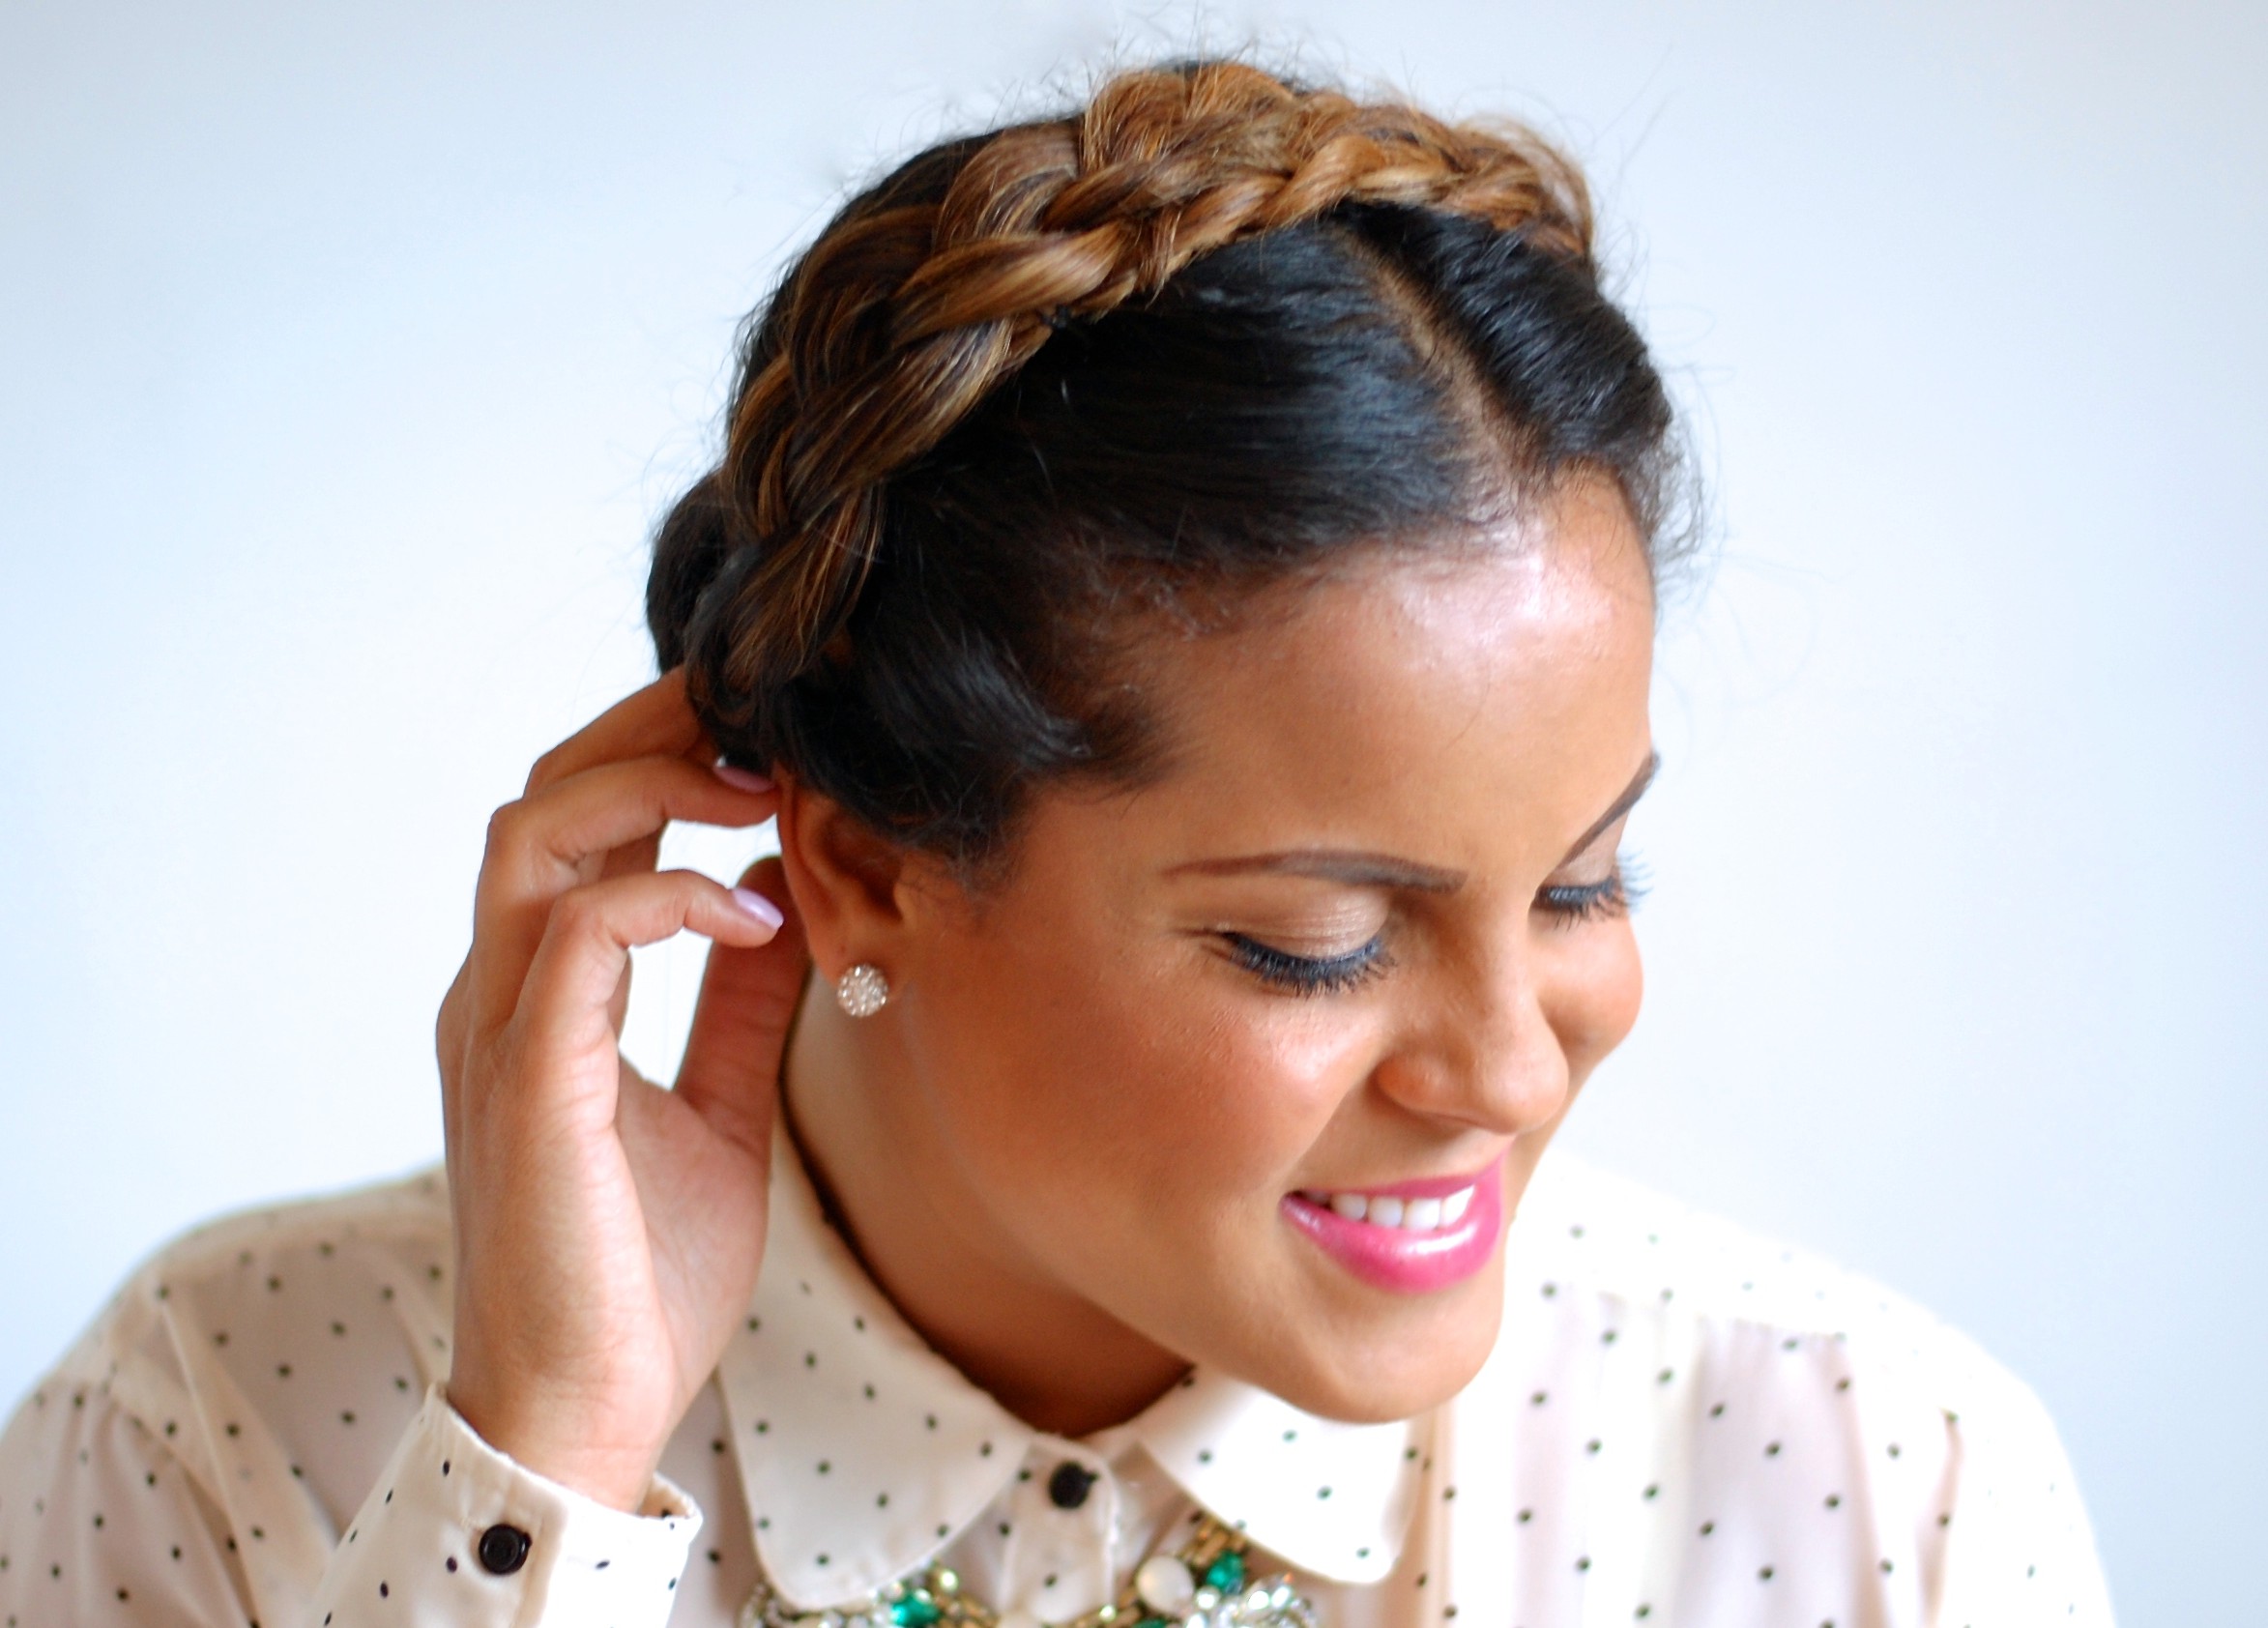

With those that are not blessed with long hair, and even myself who have sworn off hair extensions since December 2013, it isn’t always easy to create your favourite hairstyle when you lack the inches.
Thats why when I kept seeing images of milkmaid braids, I knew that I was determined to create the look, even if my hair couldn’t give me the thickness that I desired. Until I played with my own version.
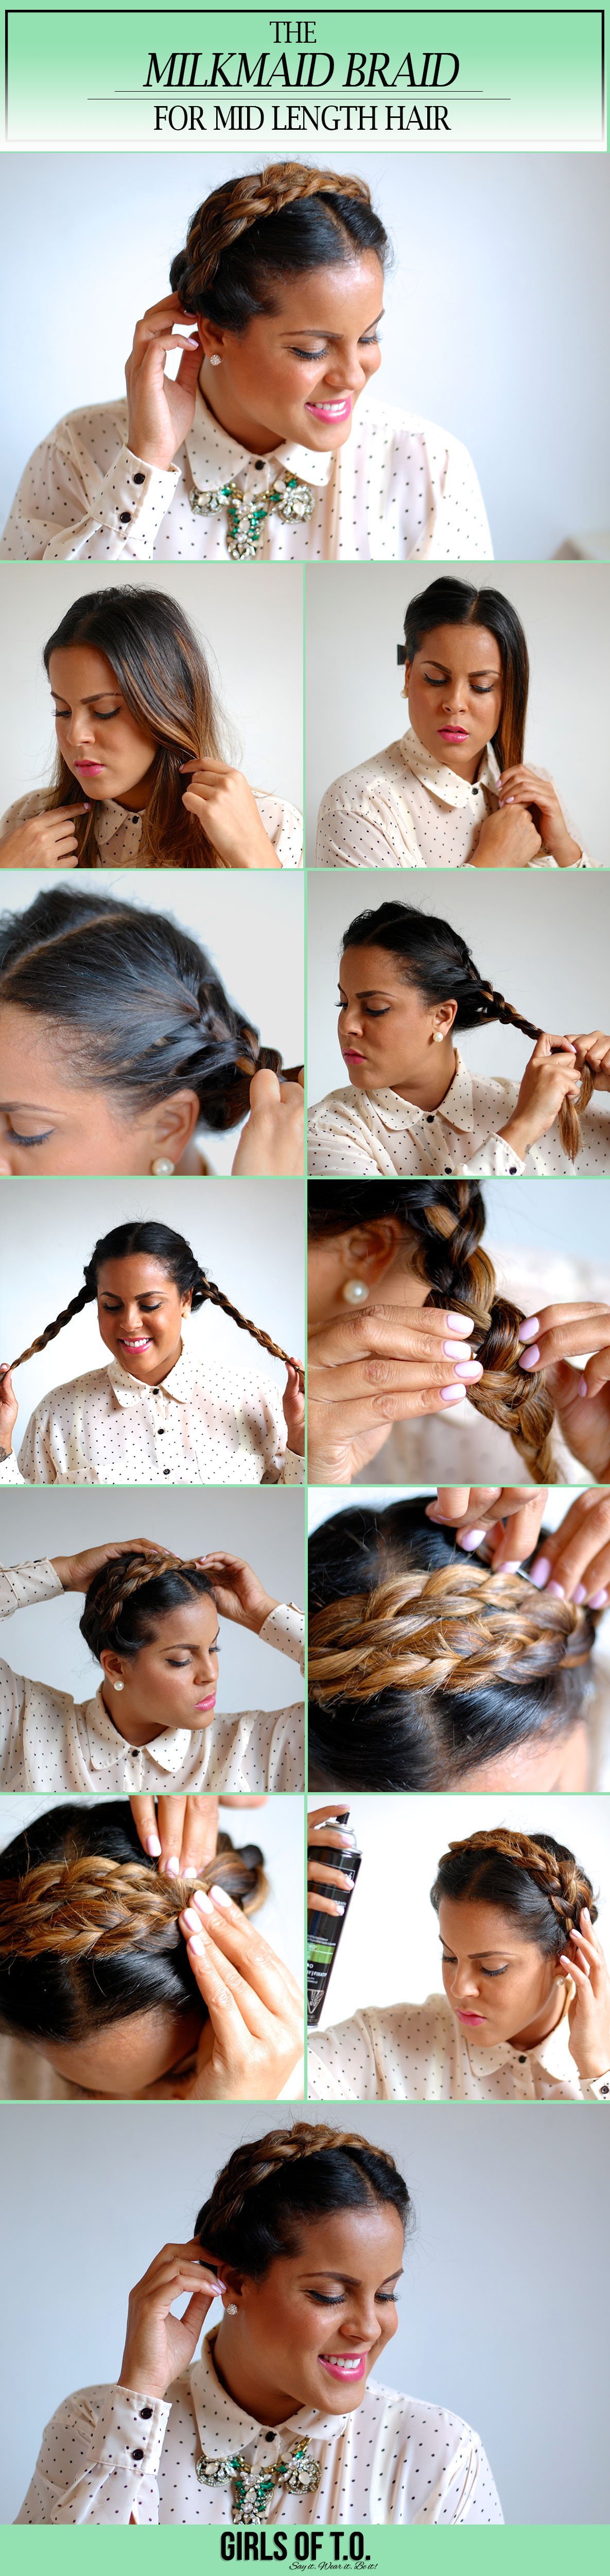
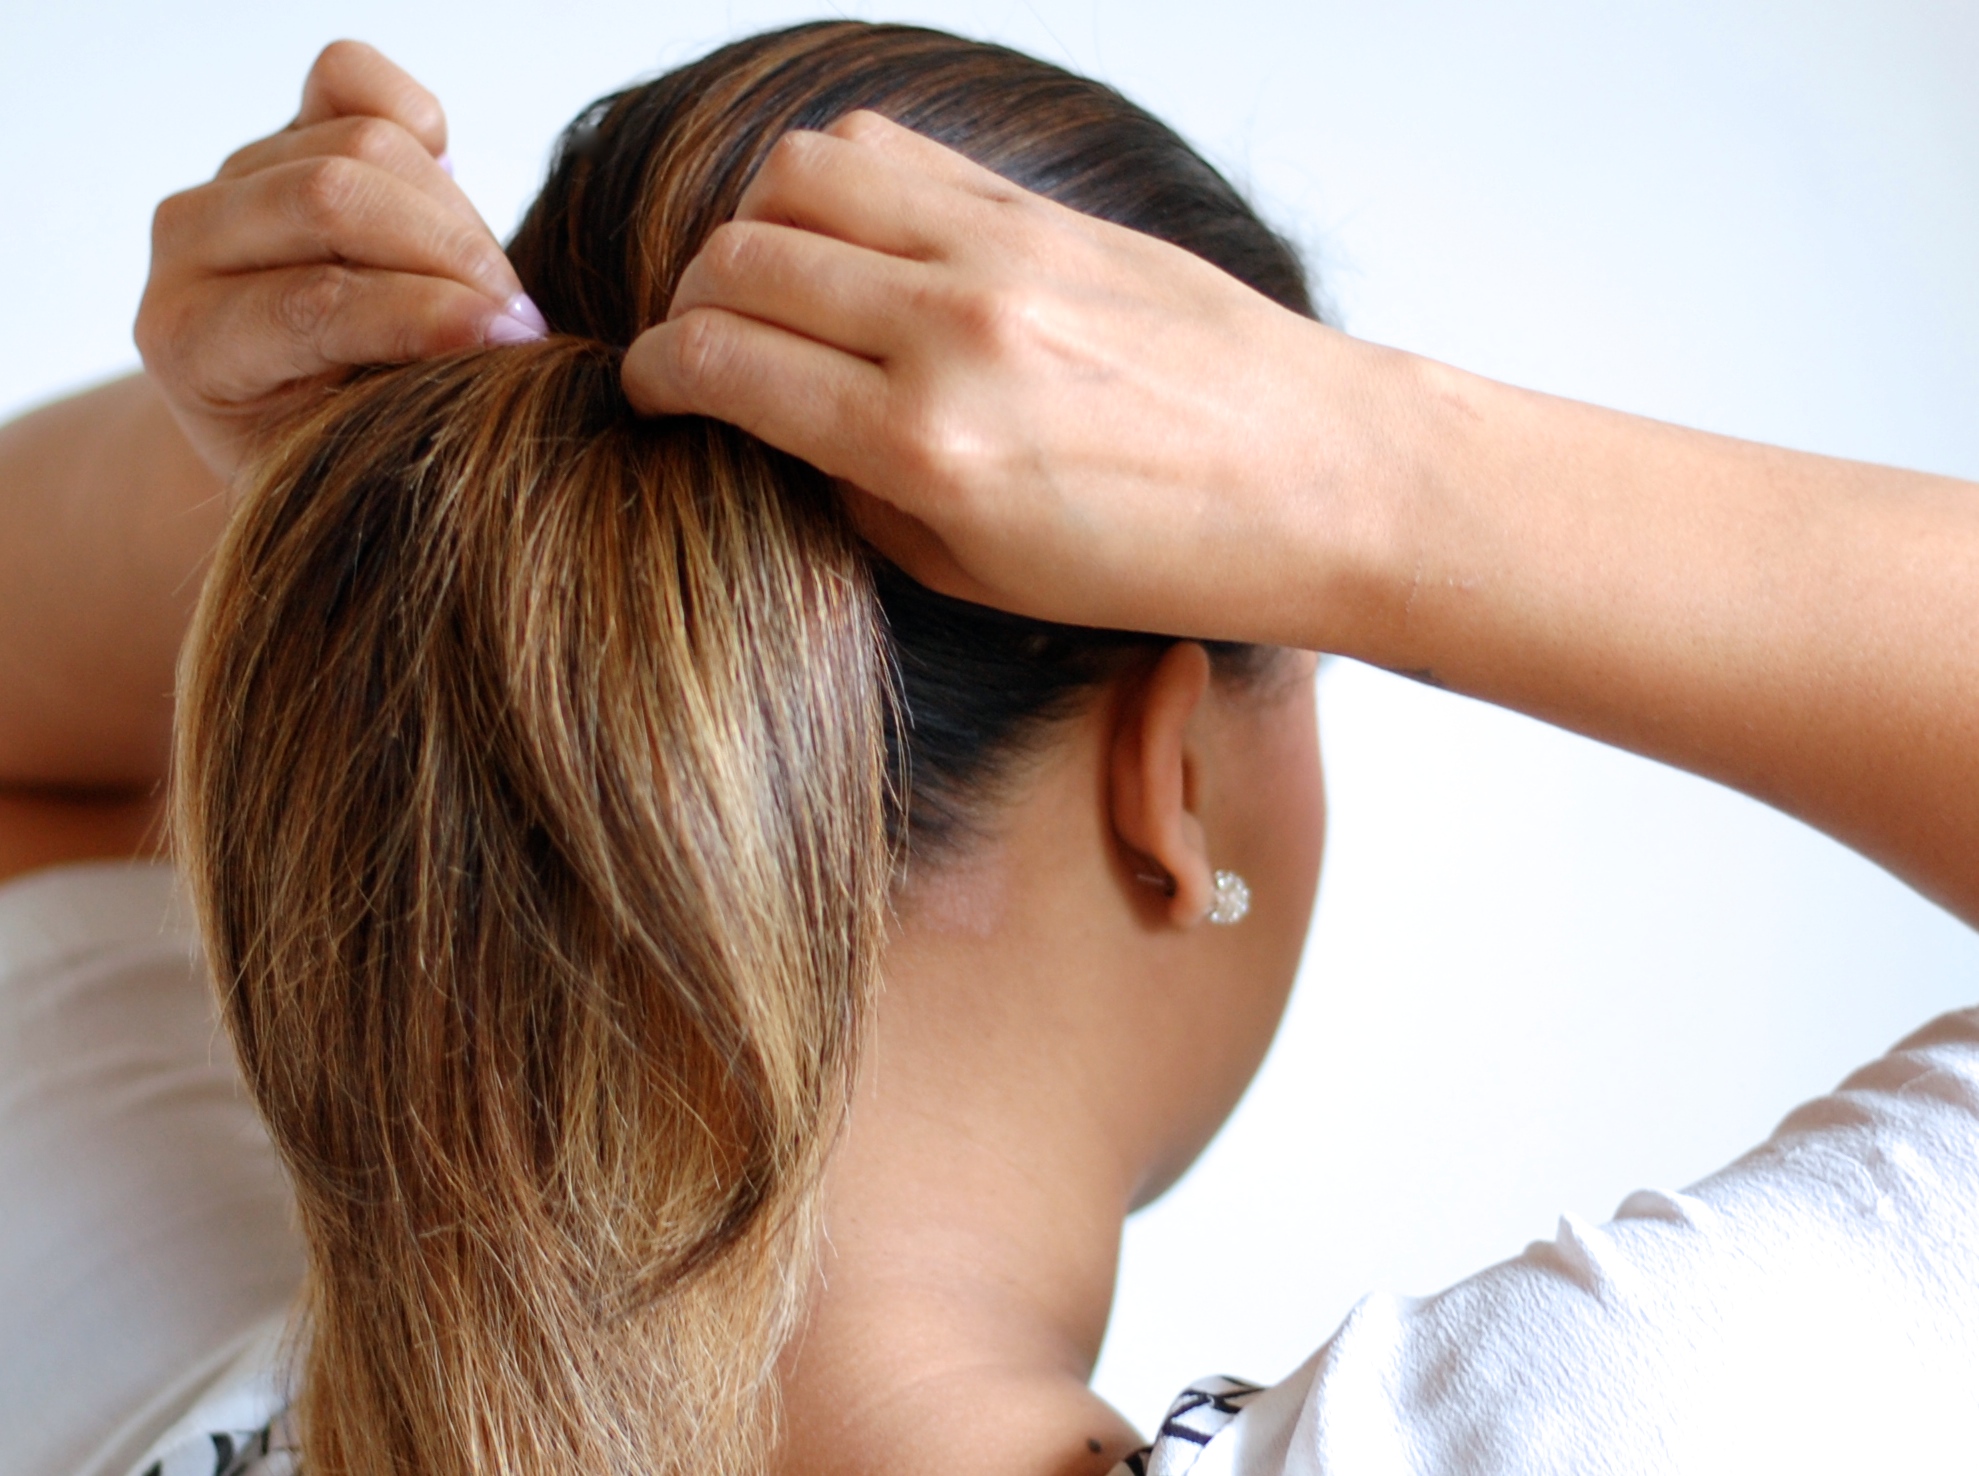
Starting with brushed out hair, I parted my hair down the middle to create two braids. Beginning on one side, I started a french braid, being sure to finish the braid around my ear using a small elastic, rather than the nape of the neck like a typical milkmaid style. By doing this, I’m able to keep the majority of the braid on the top of my head to create a fuller braid effect.
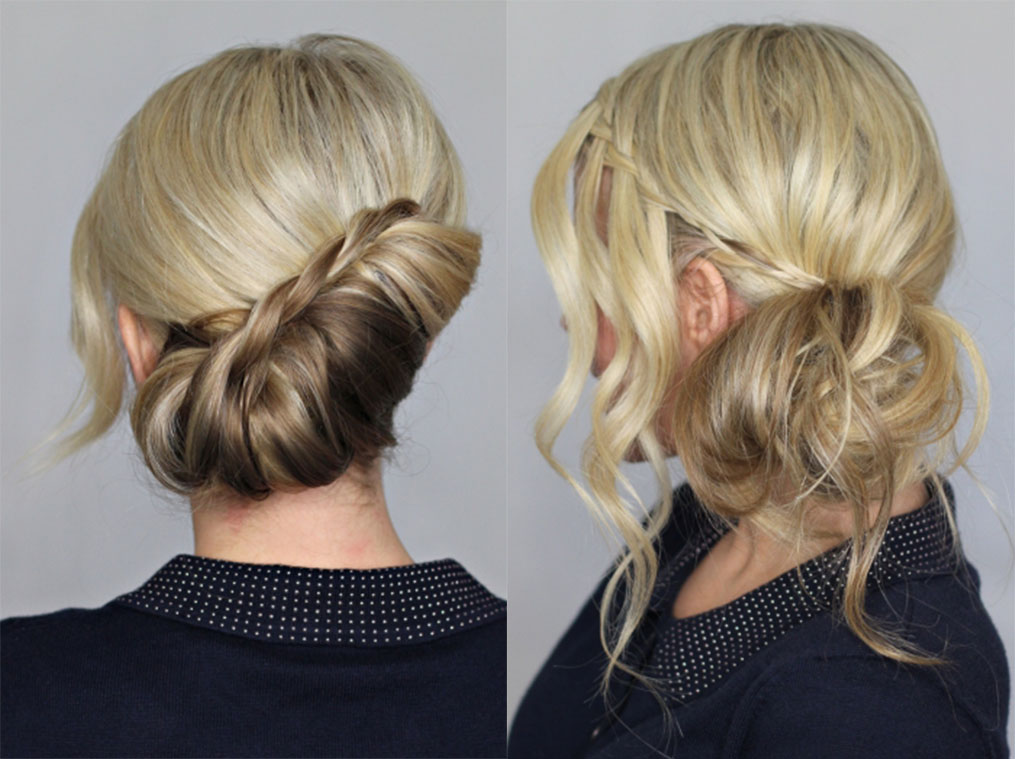
Once both sides of the braid are done, I pulled apart the braids to add more body to the style to make the braids appear fuller and thicker. I then took each side and wrapped it along the top of my head and secure it with Goody bobby pins. (Tip: Be sure to use each braid to cover up the elastics and bobby pins )
Of course, I then sprayed my hair with TRESemme hairspray and Voila! Milkmaid braid is complete. Feel free to pull on different pieces of the braid for a messier do or leave your bangs down in the front for a less polished casual look.
Have you tried the milkmaid braid? Let me know in the comments what tips you may have on this fun and easy do!
 Follow


COMMENTS ARE OFF THIS POST